
The pandemic has sure changed the workplace in the past year, and if we can find a tiny silver lining in the clouds, it would be a strengthening of the tools that people use to work together at a distance. Collaboration and video conferencing tools abound and the workplace will be forever changed for countless people. Some companies realize that “office space” might be a thing of the past.
Developers have always worked differently. We do independent work within the framework of a team. There are lots of moving parts in our work, and the most agile teams are the teams that best manage to surf the constant upheaval that software development demands. Atlassian’s advantage is a well-established set of workflow management tools that now integrate seamlessly with Slack and GitHub, easing communications and version control for your development team.
Our world depends heavily on workflow management. No matter how big or small the team, how simple or complex the project, our ability to deliver software that works within a given time frame hinges on our ability to keep track of the project.
Atlassian is one of the biggest names in DevOps management, offering a suite of products including Bitbucket, Halp, and Jira that can help any team meet their objectives without the cumbersome project management solutions that are the bane of a developers’ existence. No matter what your needs are (and with 180,000 clients and growing, Atlassian is pretty good at the “no matter” part), if you’re looking to get a handle on Developer and DevOps workflows, it’s safe to say Atlassian has you covered. This guide provides an overview of the Jira Workflow tool, showing you how to build rules that will automatically build your workflow as you do, in response to pre-defined criteria, and integrate these workflows with GitHub for version control and Slack for communication.
What is a workflow?
A workflow is a set of statuses and transitions that an issue goes through during its lifecycle, in other words the path that an issue takes is called a workflow.
How to automate workflows in Jira
With Atlassian Rule Build, you can create automated rules to handle different actions and use cases. Following the Atlassian guide we can create a simple rule to automatically add sub-tasks to any newly created task. Let’s look at an example of an automated Jira Workflow:
Rules
Rules allow you to automate actions within your system based on criteria that you set. Automation rules are made up of three parts: triggers that kick off the rule, conditions that refine the rule, and actions that perform tasks in your site in response to the rule being activated.
Creating a rule
If you’re not using automated rules, when a new bug is reported, your team has to manually create the appropriate sub-tasks on the issue before it is assigned to a team member.
This process can be automated easily! We can create a simple rule to automatically add sub-tasks to any new bugs, and even assign them to a specific individual or team.
- Navigate to your Automation settings and select Create rule in the top-right corner.
- Select the Issue created trigger, and select Save.
- Select New condition, and select the Issue fields condition.
- Configure the condition as follows:
- Set the Field to Issue Type
- Set the Condition to equals
- Set the Value to compare to Bug
- Select Save.
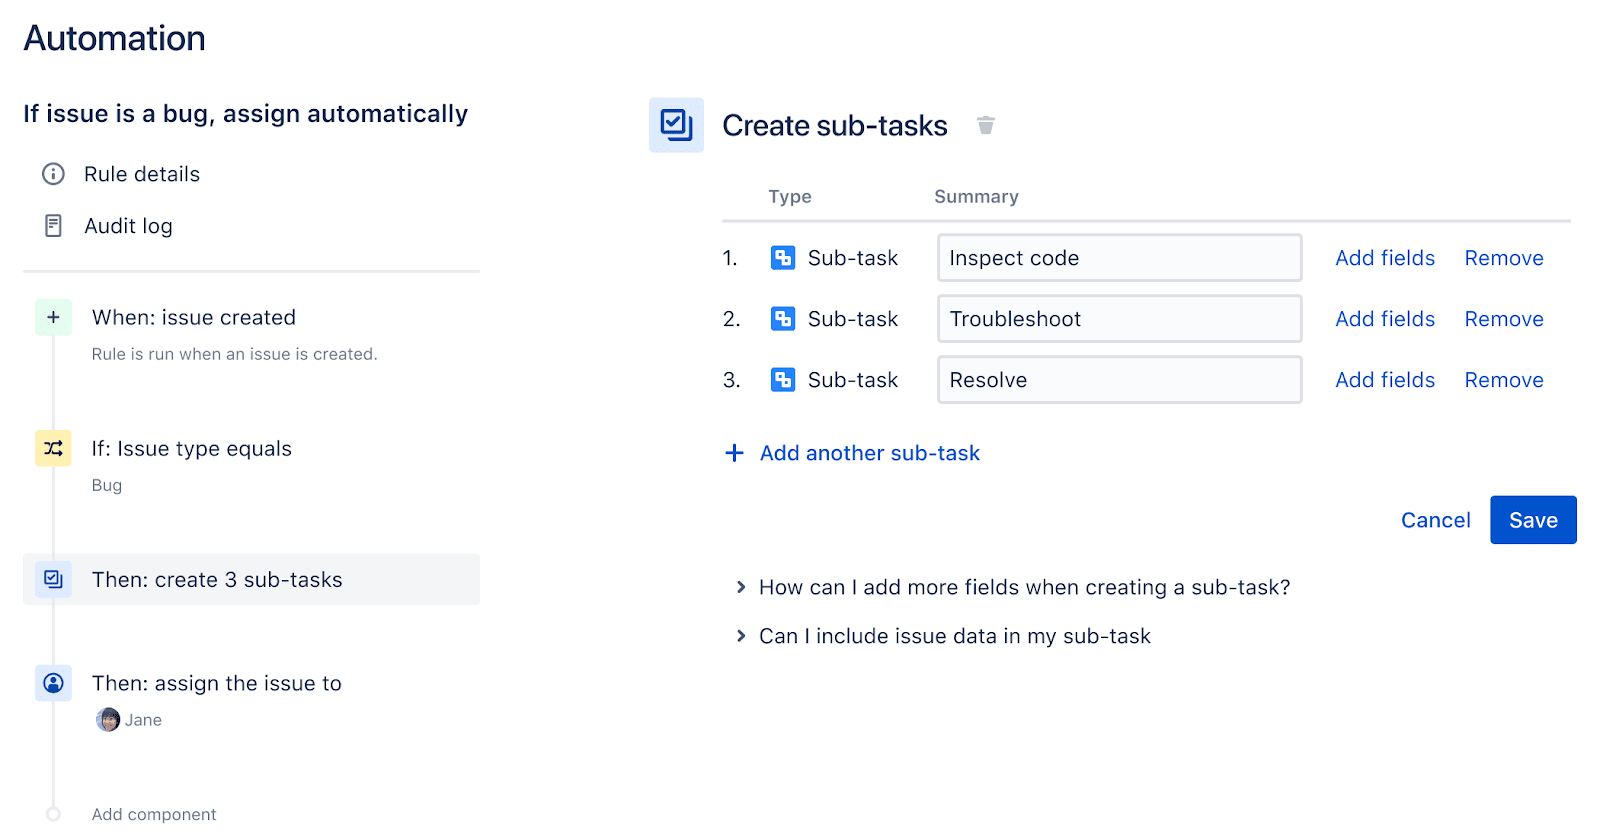
- Select New action, and select the Create sub-tasks action.
- Configure the action as follows:
- Add 3 sub-tasks, called Inspect code, Troubleshoot and Resolve.
- Select Save.
- Select New action, and select the Assign issue action.
- Select a user to specify the assignee, and select Save.
- Give your rule a name, and select Turn it on.
You can also learn how to test your new rule following the given steps in this guide.
Automating GitHub workflows
GitHub workflows can also be automated to update the status of an issue using Triggers. It’s easy to create a rule that automatically transitions an issue from “To Do” to “In Progress” when a branch is created.
Triggers
Triggers are a powerful tool for keeping your Jira issues synchronized with the information in your development tools (Fisheye/Crucible, Bitbucket and GitHub). Instead of relying upon developers to manually update the status of issues after committing code, complete reviews, create branches, etc, you can configure triggers in your workflow to automatically transition issues when these events occur in your development tools.
Let’s take a look at how to create a Trigger to automatically transition issues when a Commit is created. We will consider that you already have a workflow, if not, you can learn how to create one in this guide.
Creating a Trigger
We'll start by adding a 'Commit created' trigger to the 'Start progress' transition. Ensure that you are editing (not viewing) the workflow.
- Select the Start progress transition in the workflow, i.e. the line from 'To Do' to 'In Progress'. A panel will display on the right, showing the details of the transition.
- Click Triggers in the panel. The 'Transition: Start Progress' screen will display with the 'Triggers' tab showing.
- Click Add trigger, then select Commit created in the dialog that appears. A diagnostics window will display — you'll notice that the trigger will be added for all development tools that Jira is connected to.
- Click Add trigger to add the trigger. It will appear in a list at the bottom of the 'Triggers' tab. You can check whether it is working by clicking View Details.
Publish your draft workflow and you are all set. Learn more about triggers and how to test them in this guide.
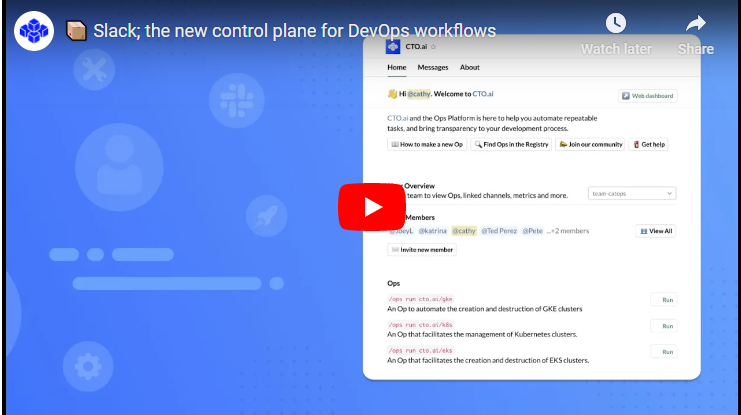
Integrate CTO.ai with Slack
CTO.ai brings the ease of Atlassian’s workflow products to the Slack platform. 135,000+ companies are taking advantage of Slack’s ability to reduce the institutional communication drag that slows down development time by up to 20%. By CTO.ai to keep track of processes, your team can achieve DevOps goals without the need for rewrites or technical changes. CTO.ai gives you DevOps best practices integrated with the best communications platform in the business.
CTO.ai Workflow Automation
CTO.ai is a serverless infrastructure that is designed for the needs of fast-moving development teams who want to measure what matters to their team and the business. CTO.ai provides the basic building blocks that any team needs to create a developer PaaS that feels custom-made, without ongoing maintenance cost.
CTO.ai is designed for the needs of Agile development teams who want to focus on delivering applications, not operations. The CTO platform offers tools and features built to help developers create working software fast, in an environment they already use, with tools that are proven to work.
Getting Started with CTO.ai
When starting with CTO.ai - it's important to set up a Workflow Agent which helps you integrate your existing tools seamlessly.
We recommend starting with GitHub integration, which will allow you to start sending workflow events in about 5 minutes. You can also gather events from any other system as well, by creating a Custom Workflow Agent, which sends API requests.
How to Setup CTO.ai GitHub App
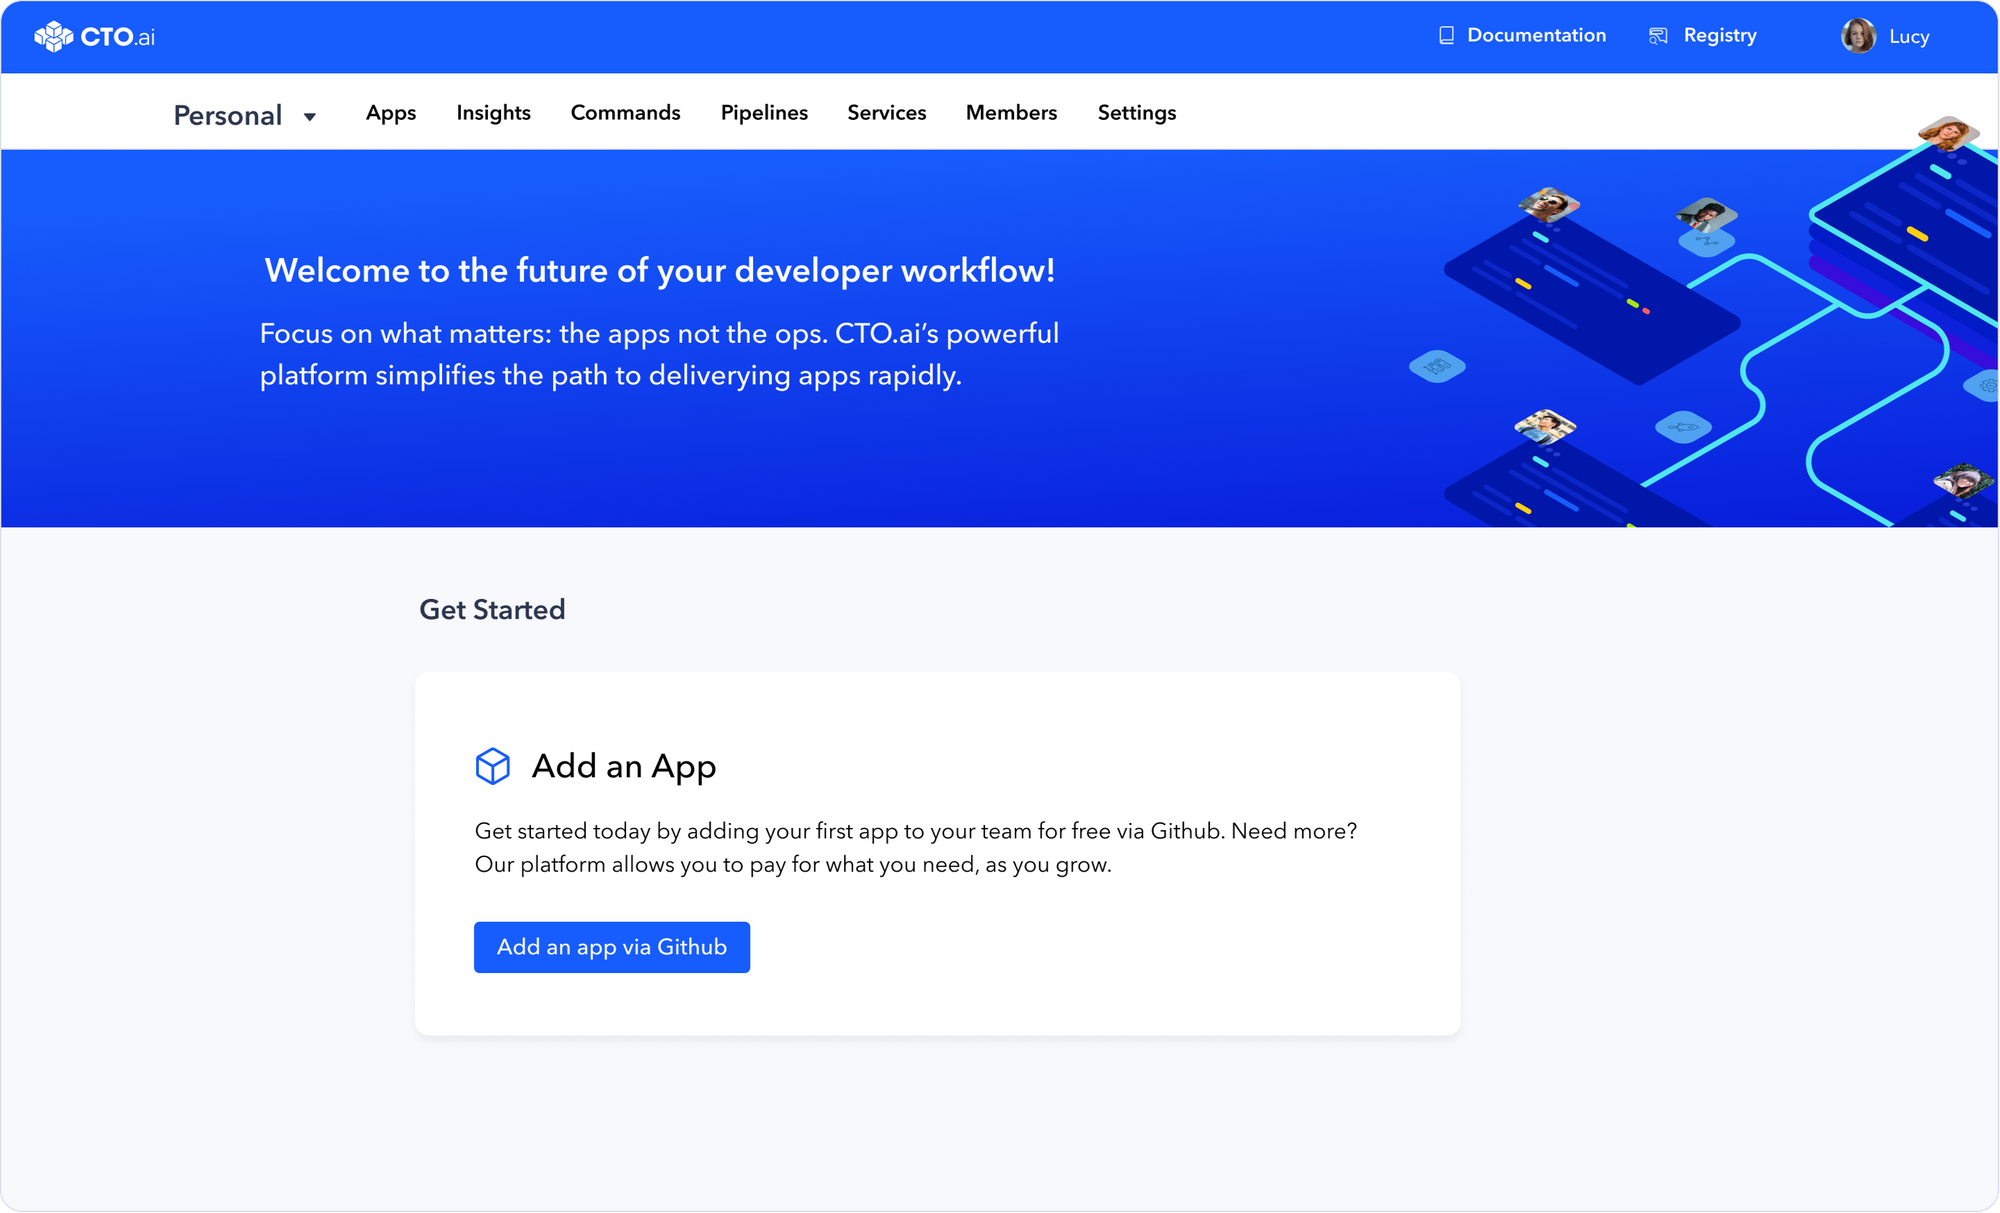
- Login to the CTO.ai Portal
- Click on the Install Workflow Agent button
- Click on the Install button on the top right
- Our Agent can be installed into multiple organizations so the button may say Configure if it is already installed in an organization you are a part of
- Choose the user or organization to install the CTO.ai Agent to
- Note: this user needs to be an Owner of the GitHub Organization to have sufficient privileges to complete the install
- Select whether to collect events from the entire organization or only selected repositories
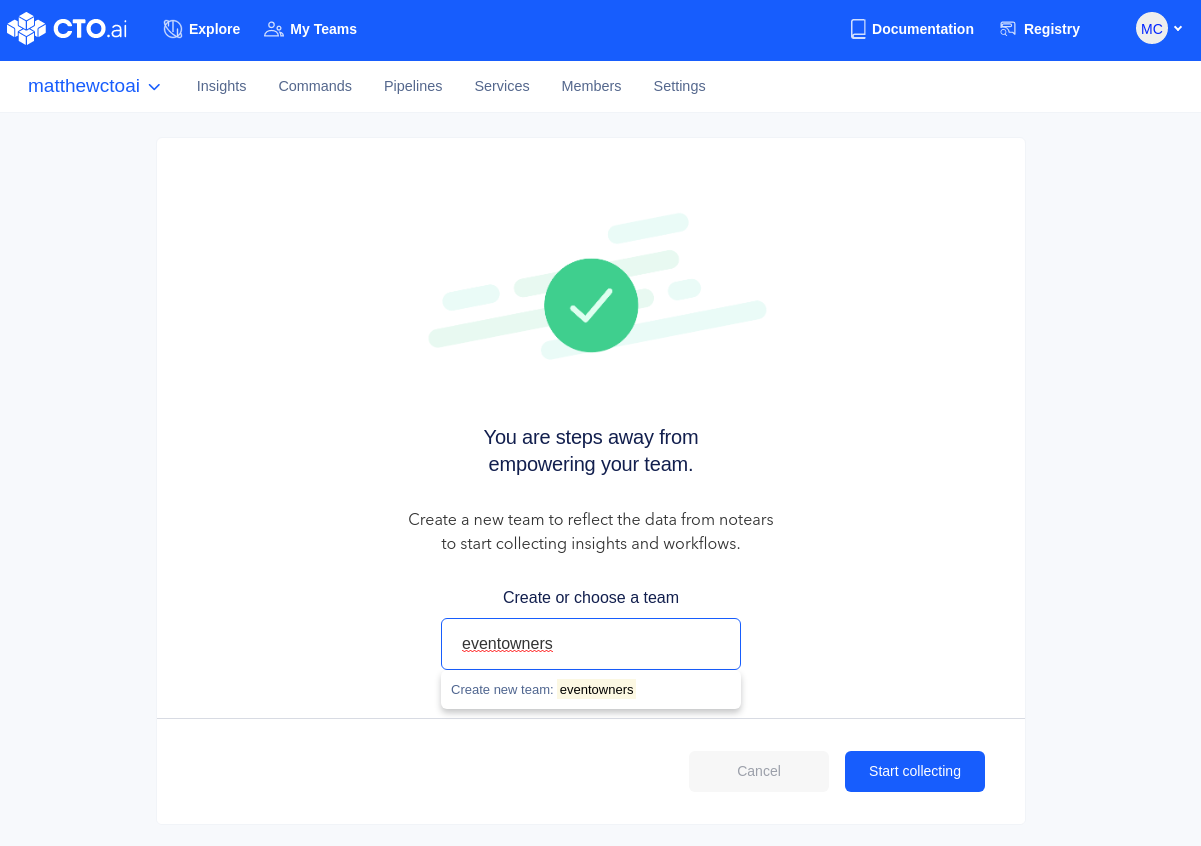
- Upon returning to CTO.ai, you need to associate the Agent installation with a team. Data from GitHub will be associated with the team and will require selecting that team to view Insights.
- A new team will include you and a special GitHub user
- An existing team will have a special GitHub user added to it
Sending Events from GitHub Actions
Install the CTO.ai CLI by following the CLI installation instructions in the Install the CLI guide. This step installs a token to the command line interface, which allows the software to authenticate both users, teams, and workflows. Without it, you won’t be able to interface Atlassian workflows with GitHub
CLI Install Prerequisites
To install the CTO.ai CLI, you will need:
- A MacOS (Intel supported / M1 coming soon!) or GNU/Linux operating environment.
- Install NodeJS and NVM (which includes NPM).
- We support NodeJS v12.x and v14.x
Docker for Mac or GNU/Linux.
Once you've installed NodeJS and Docker (as in the step above), launch your MacOS or Linux terminal and run the following:
Install
npm install -g '@cto.ai/ops'
Once installed, run:
ops
This should display:
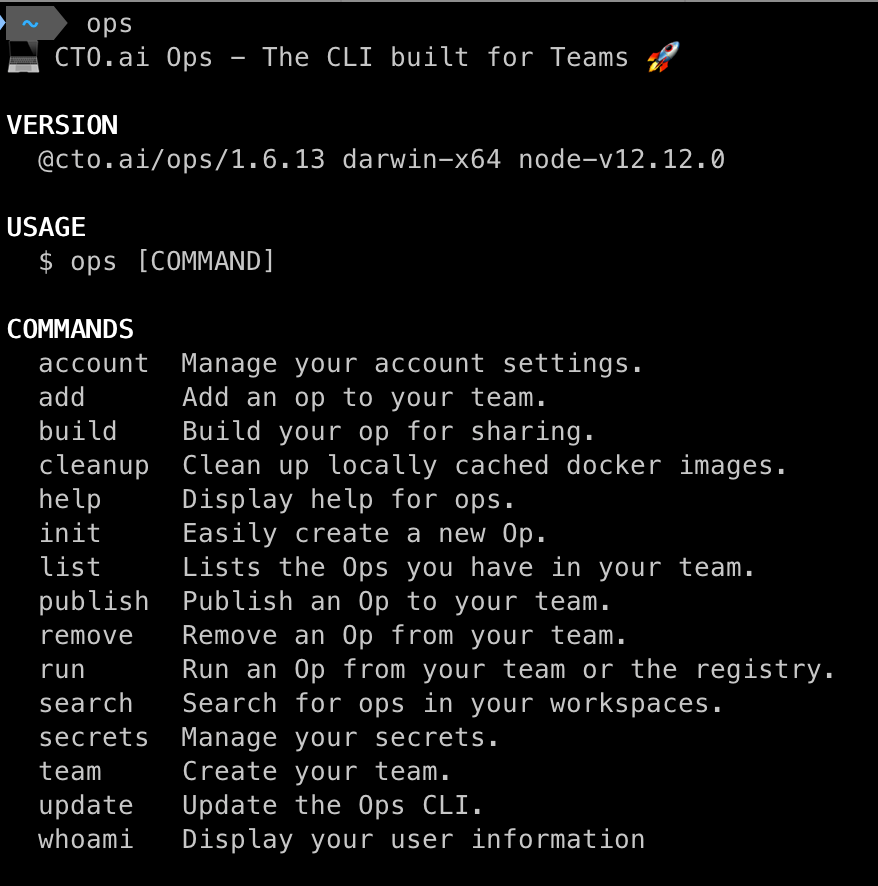
Get a Secret Key and ClientID
Contact Us and we'll send you your new credentials. When you Contact us to join the Beta test, we will set up your account and give you two credentials: ClientID and ClientSecret. Store these somewhere safe.
Generate the Token
- Sign up or Sign in to your CTO.ai account.
ops account:signup
or
ops account:signin
- Run the generate token command to create an API token. You will be prompted for your ClientID, ClientSecret, and your account password.
ops generate:token
- Copy the generated token and store it somewhere safe. This token can be used to access the HTTP API directly, or can be provided to existing integrations (like the CTO.ai GitHub Action) to allow them to access the API on your behalf.
You can use HTTP requests to send Events from any DevOps tool to the CTO.ai Events API. Certain platforms such as GitHub Actions and CircleCI have pre-built integrations to make this even easier.
The CTO.ai GitHub Action allows you to easily flow all your metrics from your GitHub Action-based pipelines into the CTO.ai Insights Dashboard.
More information on CTO.ai GitHub Action integration can be found at the CTO.ai GitHub Action ReadMe.
There are many methods and platforms that help developers automate their workflows and use the DevOps set of practices. CTO.ai helps developers automate their workflows using the CTO.ai and Slack. Learn more about automating your development workflow using Slack by following this guide.
Or, if you'd like a free consult with a Workflow Analyst, just reach out here.
Comments