
Creating and managing multiple AWS resources in your console is a very complex task in the long run. When building and configuring many product resources and services, managing and maintaining them becomes tedious work. With CloudFormation, you can create different resources from scratch and manage the configuration changes across all your environments(development, staging, and production).
In this tutorial, we’ll learn how to create a lambda function using AWS CloudFormation template.
Getting Started:
The AWS::Lambda:Function resource creates a lambda function to execute your resource definition and your specific role.
- Before we get started, we need to create the lambda role for execution. In the statement section, you can add the action you want your lambda action to be associated with.
AWSTemplateFormatVersion: "2010-09-09"
Resources:
  RootRole:
    Type: 'AWS::IAM::Role'
    Properties:
      AssumeRolePolicyDocument:
        Version: "2012-10-17"
        Statement:
          - Effect: Allow
            Principal:
              Service:
                - lambda.amazonaws.com
            Action:
              - 'sts:AssumeRole'
      Path: /
      Policies:
        - PolicyName: root
          PolicyDocument:
            Version: "2012-10-17"
            Statement:
              - Effect: Allow
                Action: '*'
                Resource: '*'
  RootInstanceProfile:
    Type: 'AWS::IAM::InstanceProfile'
    Properties:
      Path: /
      Roles:
        - !Ref RootRole
- Next, create a lambda function. In creating your lambda function, you need the role and the name of your resource. Back in your config file, under
resourceadd the name of your lambda function. The type will beAWS::Lambda::Functionunder your properties; we’ll attach the role we created above with the!GetAttfunction. - Attach your runtime value in the
yamlfile. Here I'm usingpython3.9 - Create your handler, and write your sample python lambda code in the
codesection.
AWSTemplateFormatVersion: "2010-09-09"
Resources:
  LambdaRole:
    Type: 'AWS::IAM::Role'
    Properties:
      AssumeRolePolicyDocument:
        Version: "2012-10-17"
        Statement:
          - Effect: Allow
            Principal:
              Service:
                - ec2.amazonaws.com
            Action:
              - 'sts:AssumeRole'
      Path: /
      Policies:
        - PolicyName: root
          PolicyDocument:
            Version: "2012-10-17"
            Statement:
              - Effect: Allow
                Action: 's3:*'
                Resource: '*'

  MyLambdaFunction:
    Type: AWS::Lambda::Function
    Properties:
      Role: !GetAtt LambdaRole.Arn
      Runtime: python3.9
      Handler: index.lambda_handler
      code:
        ZipFile: |
          def lambda_handler(event, context):
            return "Runtime!"
      Tags:
        - Key: Lambda
          Value: MyLambdaFunction
- Back in your AWS Console, click on CloudFormation, and upload your
yamlfile.
In the template section, we’ll select template is ready and upload a template file in the specify template section.

- Specify your stack details and enter the name of your stack.

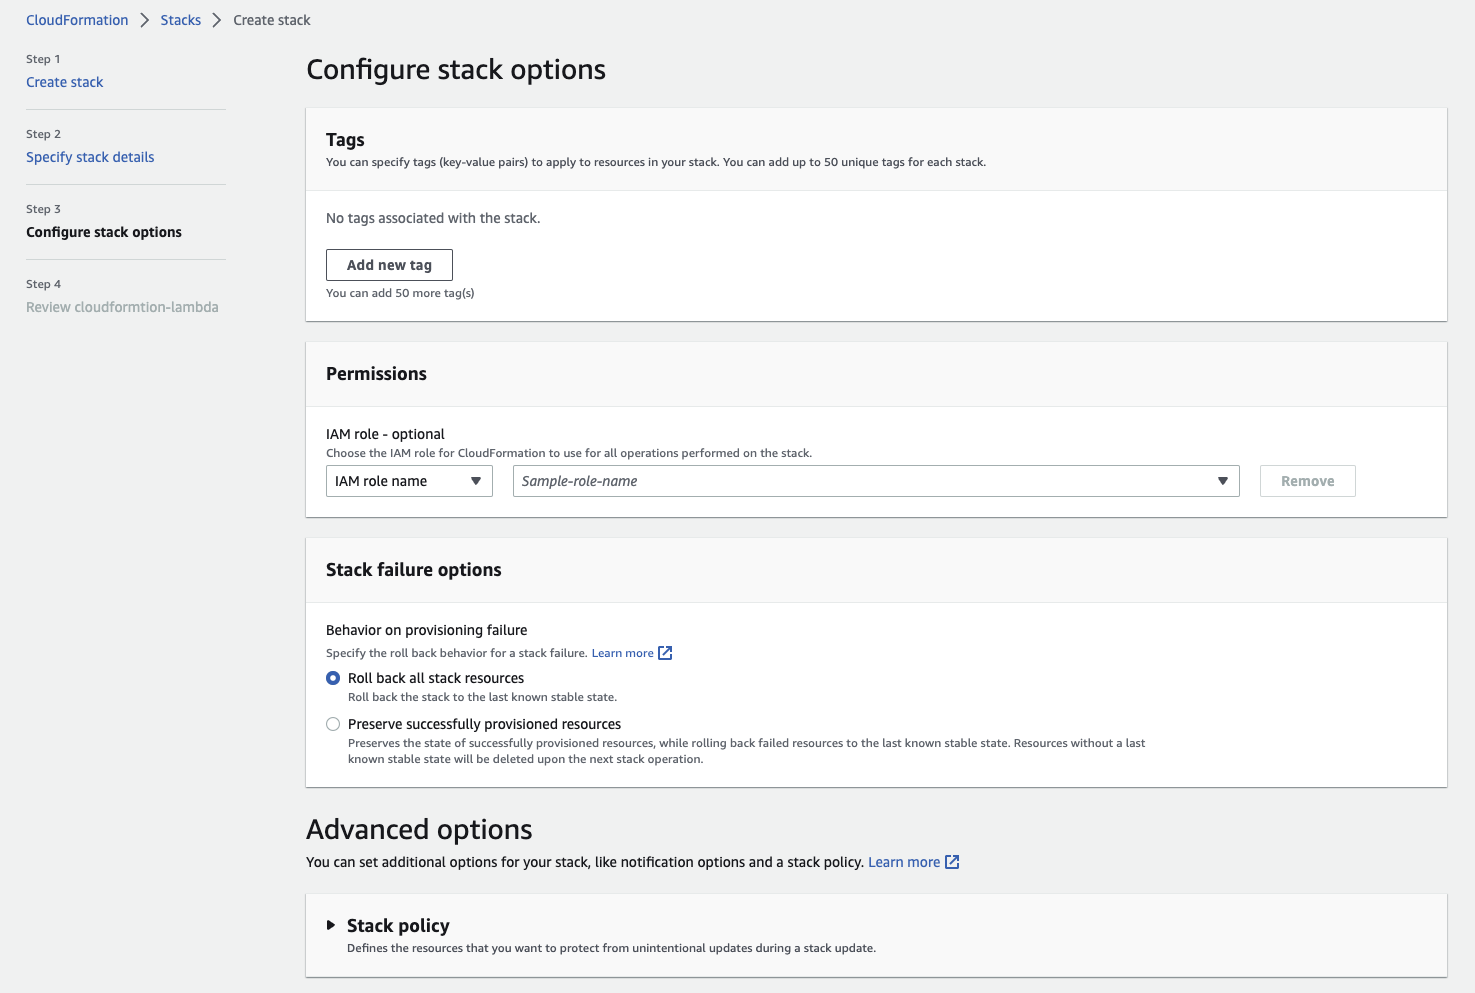
- Next, configure your stack options, tags, permissions, and failure options.
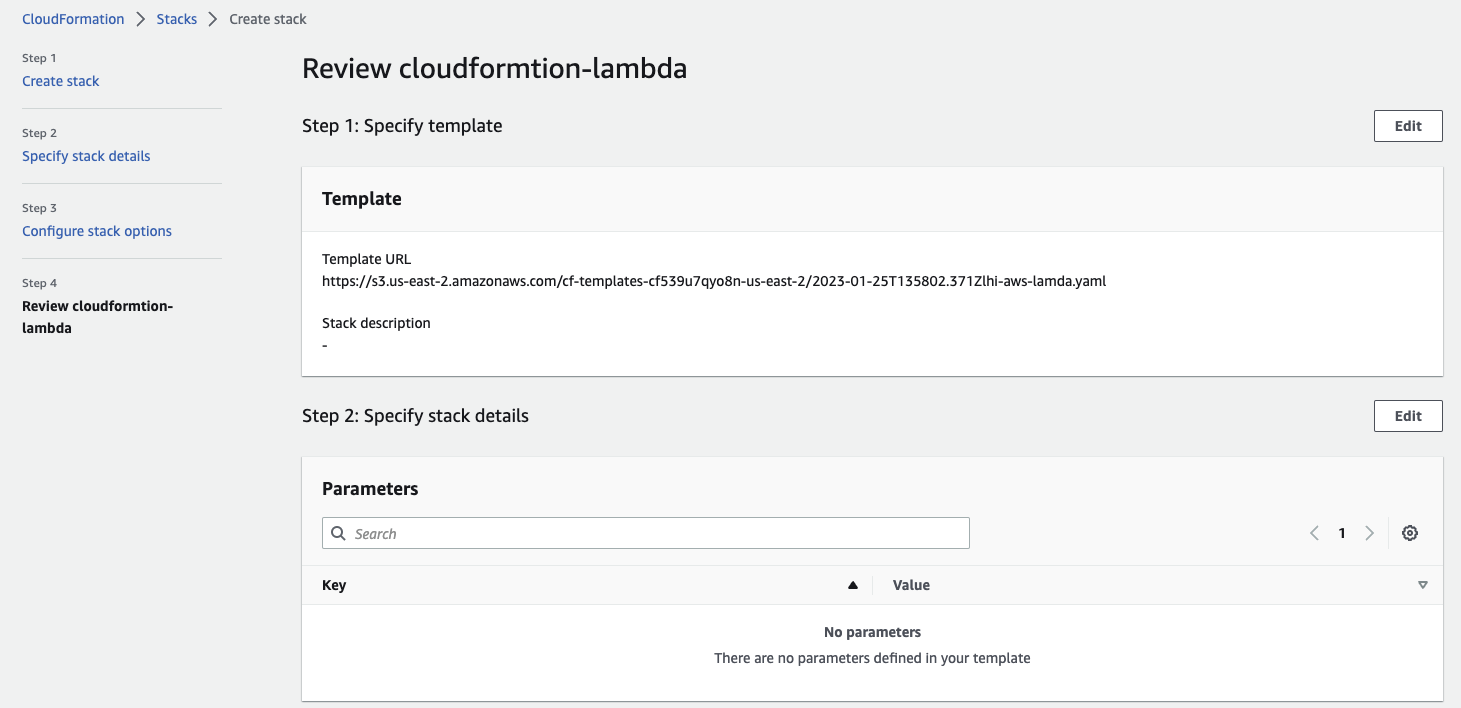
- When you’re done, review your stack and click on Submit.
- You can see your cloudformation creating your stack and resources on AWS.

- Back in your Lambda console, you can see that your lambda function has been created.
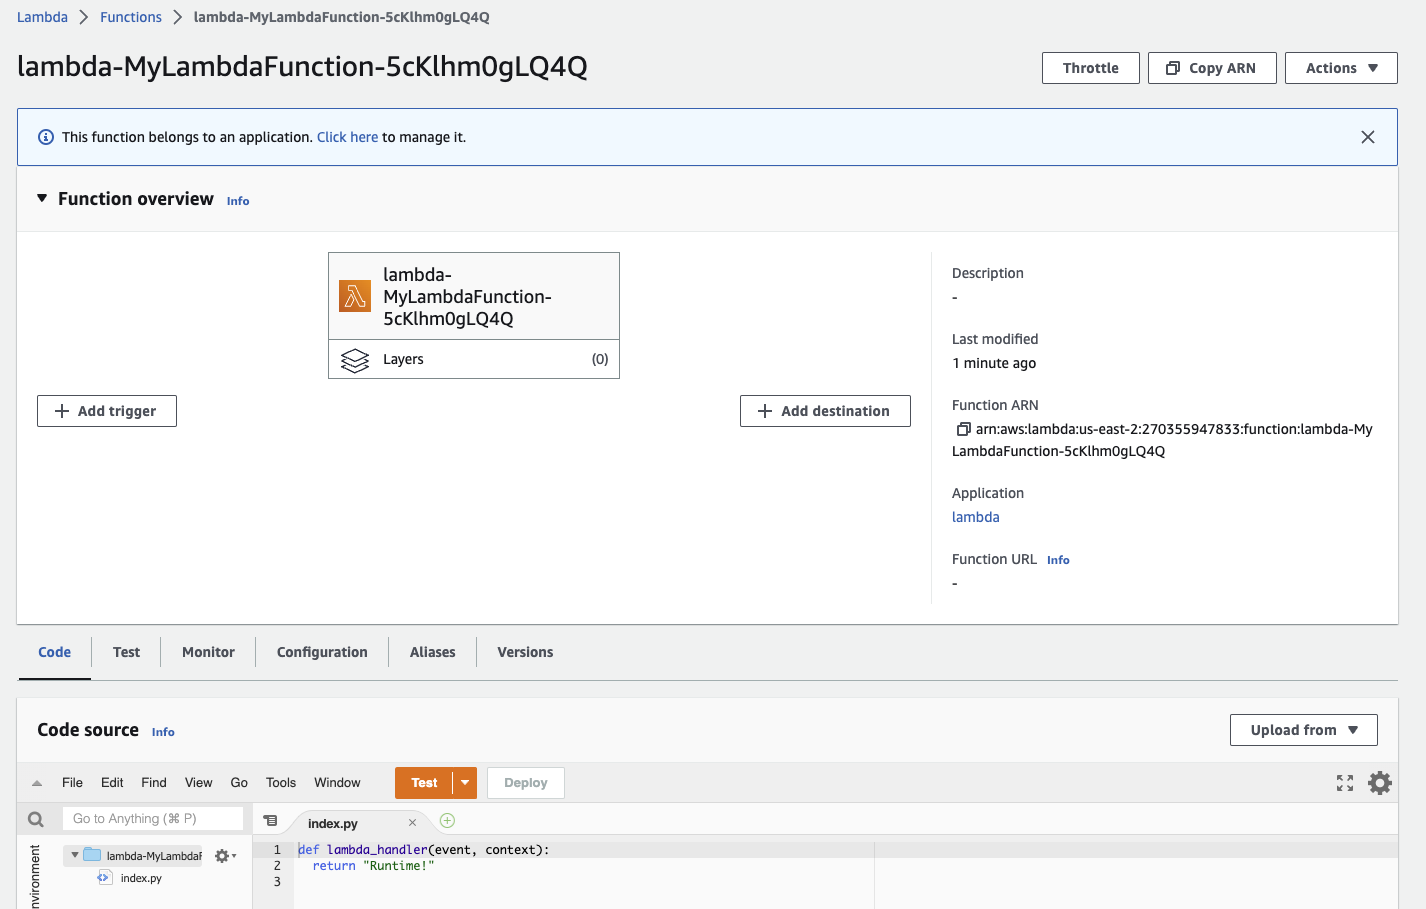
You can add more triggers, test your code, and monitor your logs.
Conclusion
CloudFormation makes deploying your aws resources easy. If you want to scale and unlock the benefits of your infrastructure using tools like CTO.ai, sign up and get started for free here.
Comments