DigitalOcean
DigitalOcean Kubernetes Workflow(DOKS Workflow)
A PaaS workflow with GitOps / ChatOps features that supports DigitalOcean Kubernetes, Virtual Private Cloud (VPC), DigitalOcean Spaces, LetEncrypt TLS,DigitalOcean Container Registry & Cloud Delivery Network(CDN) via Cloud Development Kit for Terraform (CDKTF).
We provide developers with a set of commands for creating and deploying infrastructure, pipelines for releasing different container artifacts, Services are used to deploy your applications, and Insights allow us to measure developer productivity.
We create a container for DigitalOcean with the container registry that is set up for auto-scaling, a basic database, and a vault. You interact with the control plane to use commands to create the infrastructure, a pipeline to build your infrastructure, and eventually deploy services and we track the workflow with our insights dashboard.
The DOKS workflow uses Terraform and CDKTF to create an imperative workflow which developers can interact with.
Prerequisites
- CTO.ai Account and CLI installed
- Docker, AWS CDK, and AWS CLI installed on your machine.
- DigitalOcean Account & CLI installed
- Terraform Cloud Account
- Kubernetes Lens
Before you get started with the DigitalOcean Workflow, you need to check out our Setup Workflow to Create your Account on CTO.ai and install CLI.
Installation
The DigitalOcean Workflow is open source on GitHub, and you can install it by cloning the repository.
When you’re done cloning into it, follow the instructions below to start building and deploying your Workflow
Sign up on DigitalOcean
- Visit cloud.digitalocean.com to sign up or log in with your Google or GitHub account.
Create API and SPACES Keys
- In your DigitalOcean dashboard, create your API and SPACES keys for your workflow setup by selecting API on your DigitalOcean dashboard. For the DigitalOcean workflow, we will be creating the DigitalOcean Token from the API, the Terraform Token from Terraform workspace, Digital Spaces Access and Secret key from the Spaces Token in DigitalOcean, and the GitHub Token from GitHub.
- DO_TOKEN
- DO_SPACES_ACCESS_KEY_ID
- DO_SPACES_SECRET_ACCESS_KEY
- TFC_TOKEN
- GITHUB_TOKEN
CTO.ai will use these API keys to authenticate, request, and create your DigitalOcean Workflow.
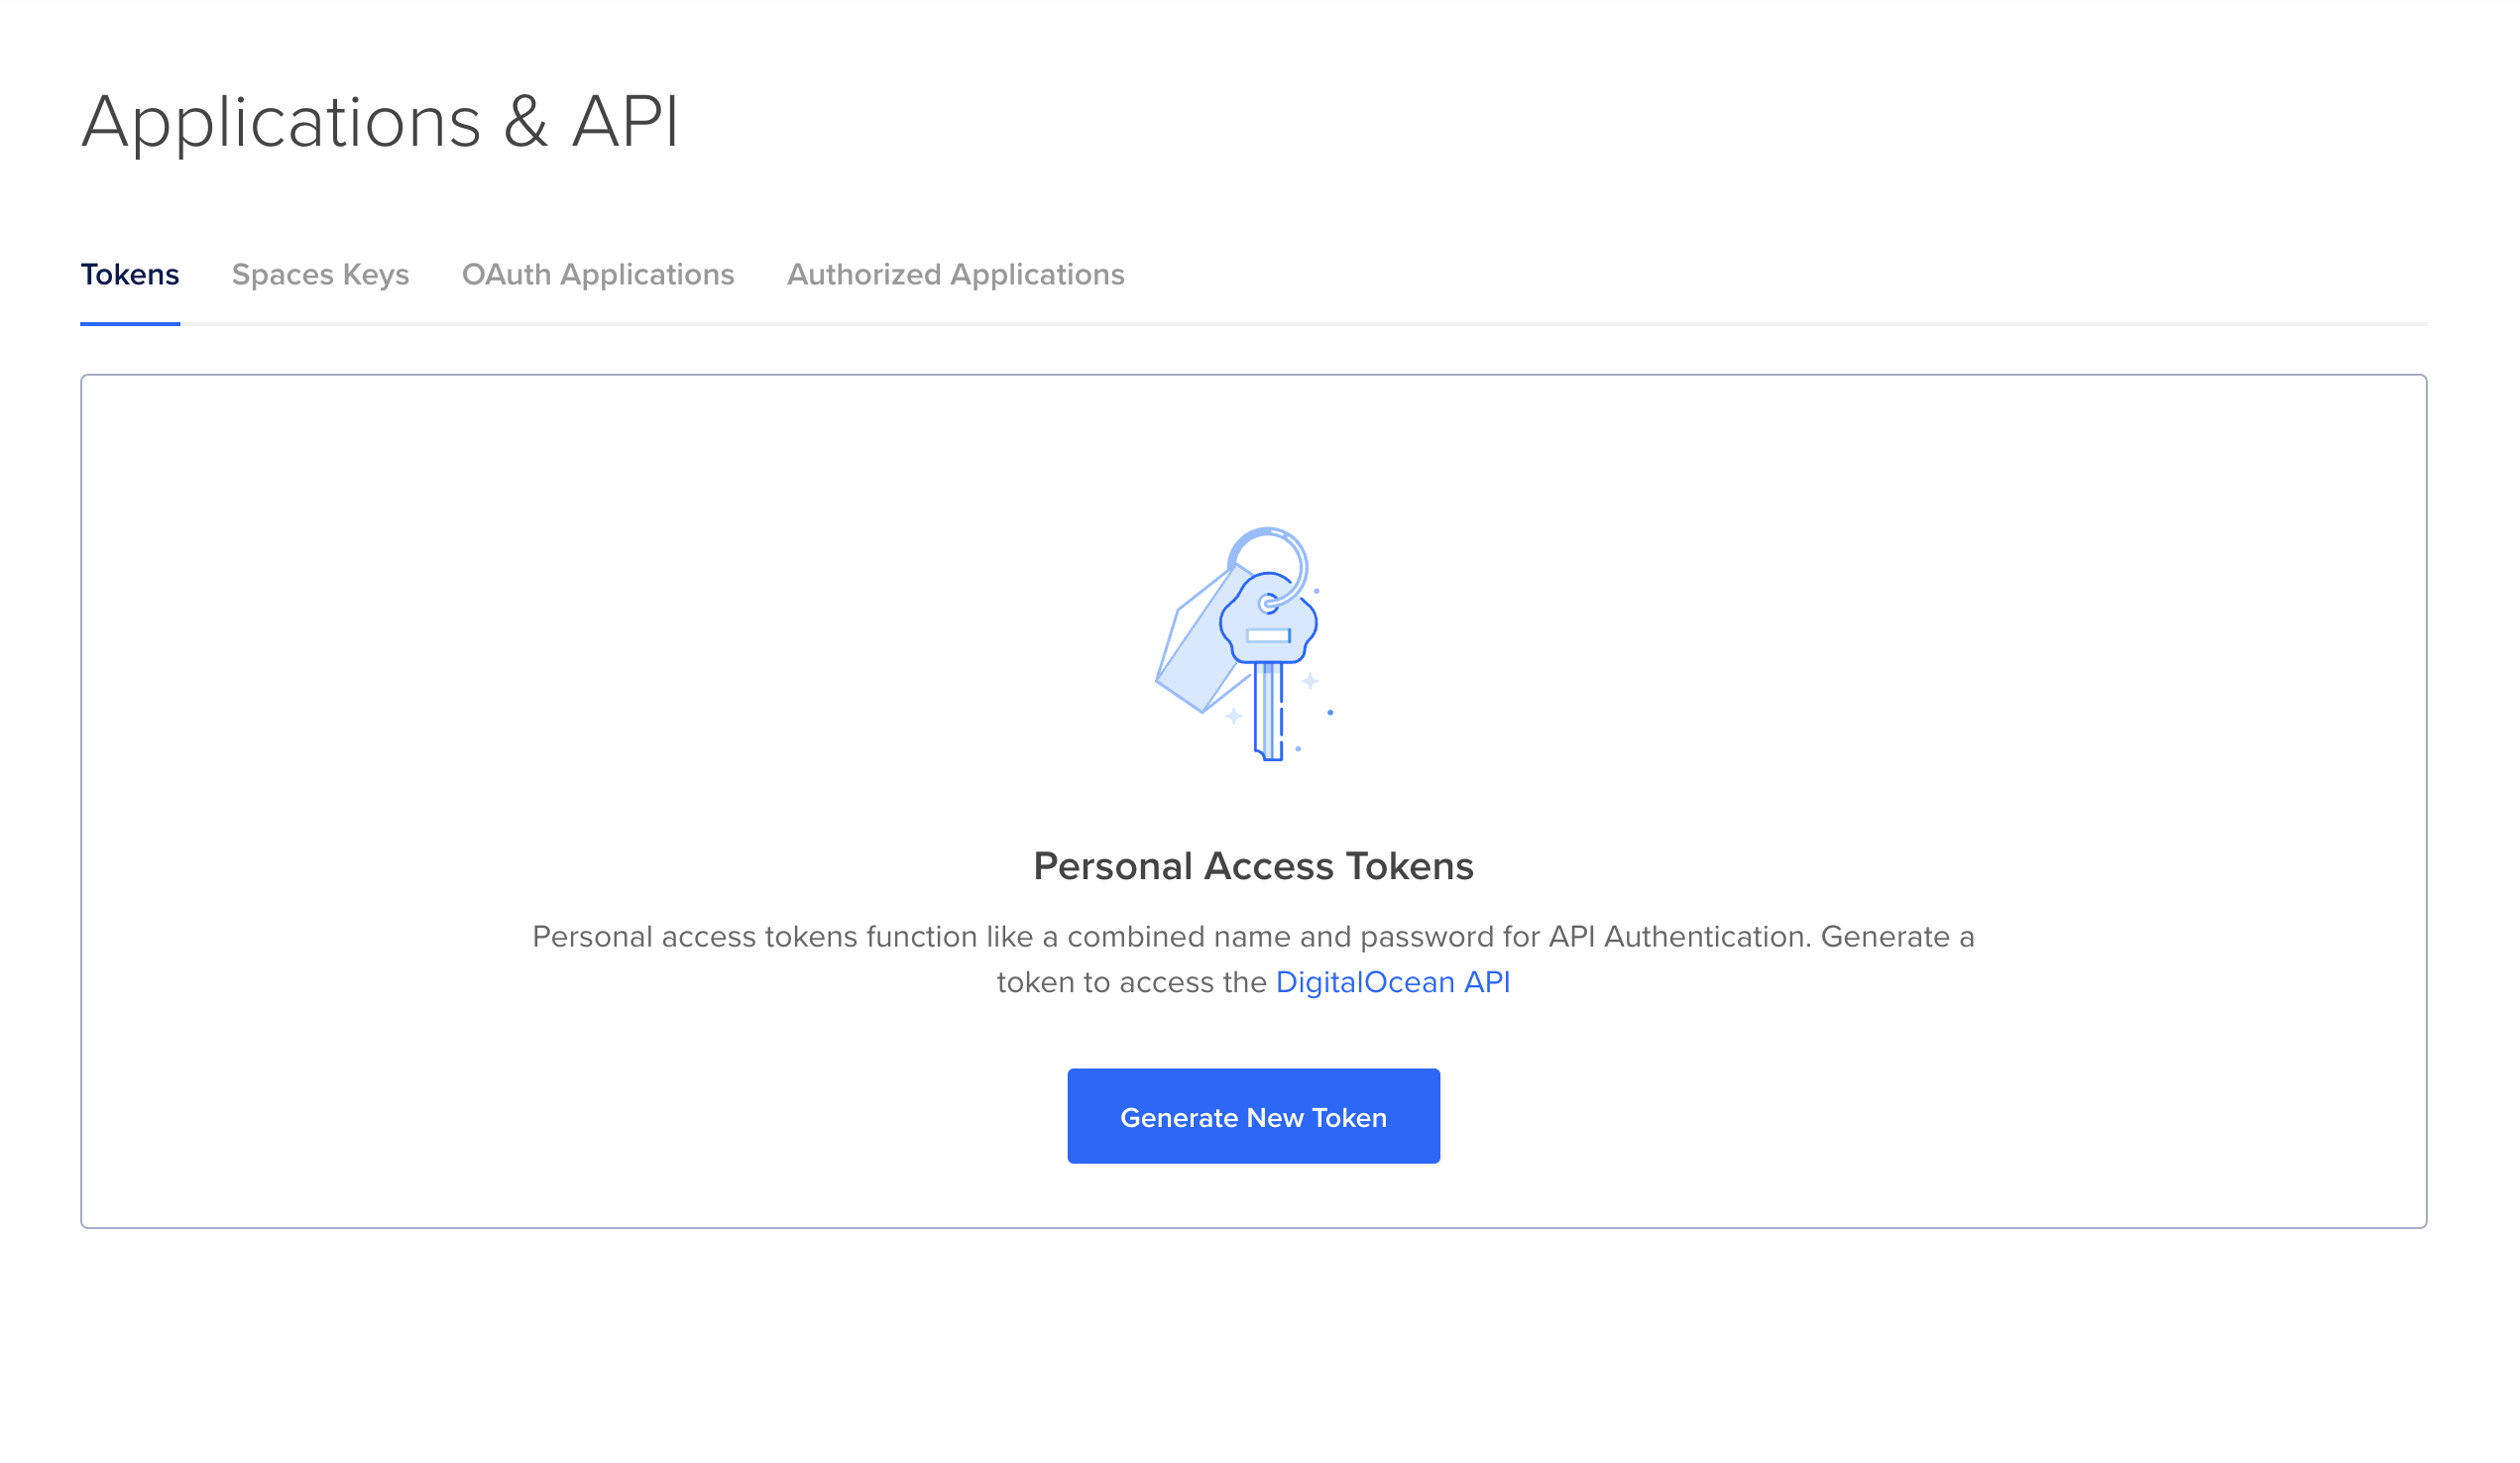
- In the Personal access tokens area, click on Generate New Token and create your DigitalOcean access token (DO_TOKEN).
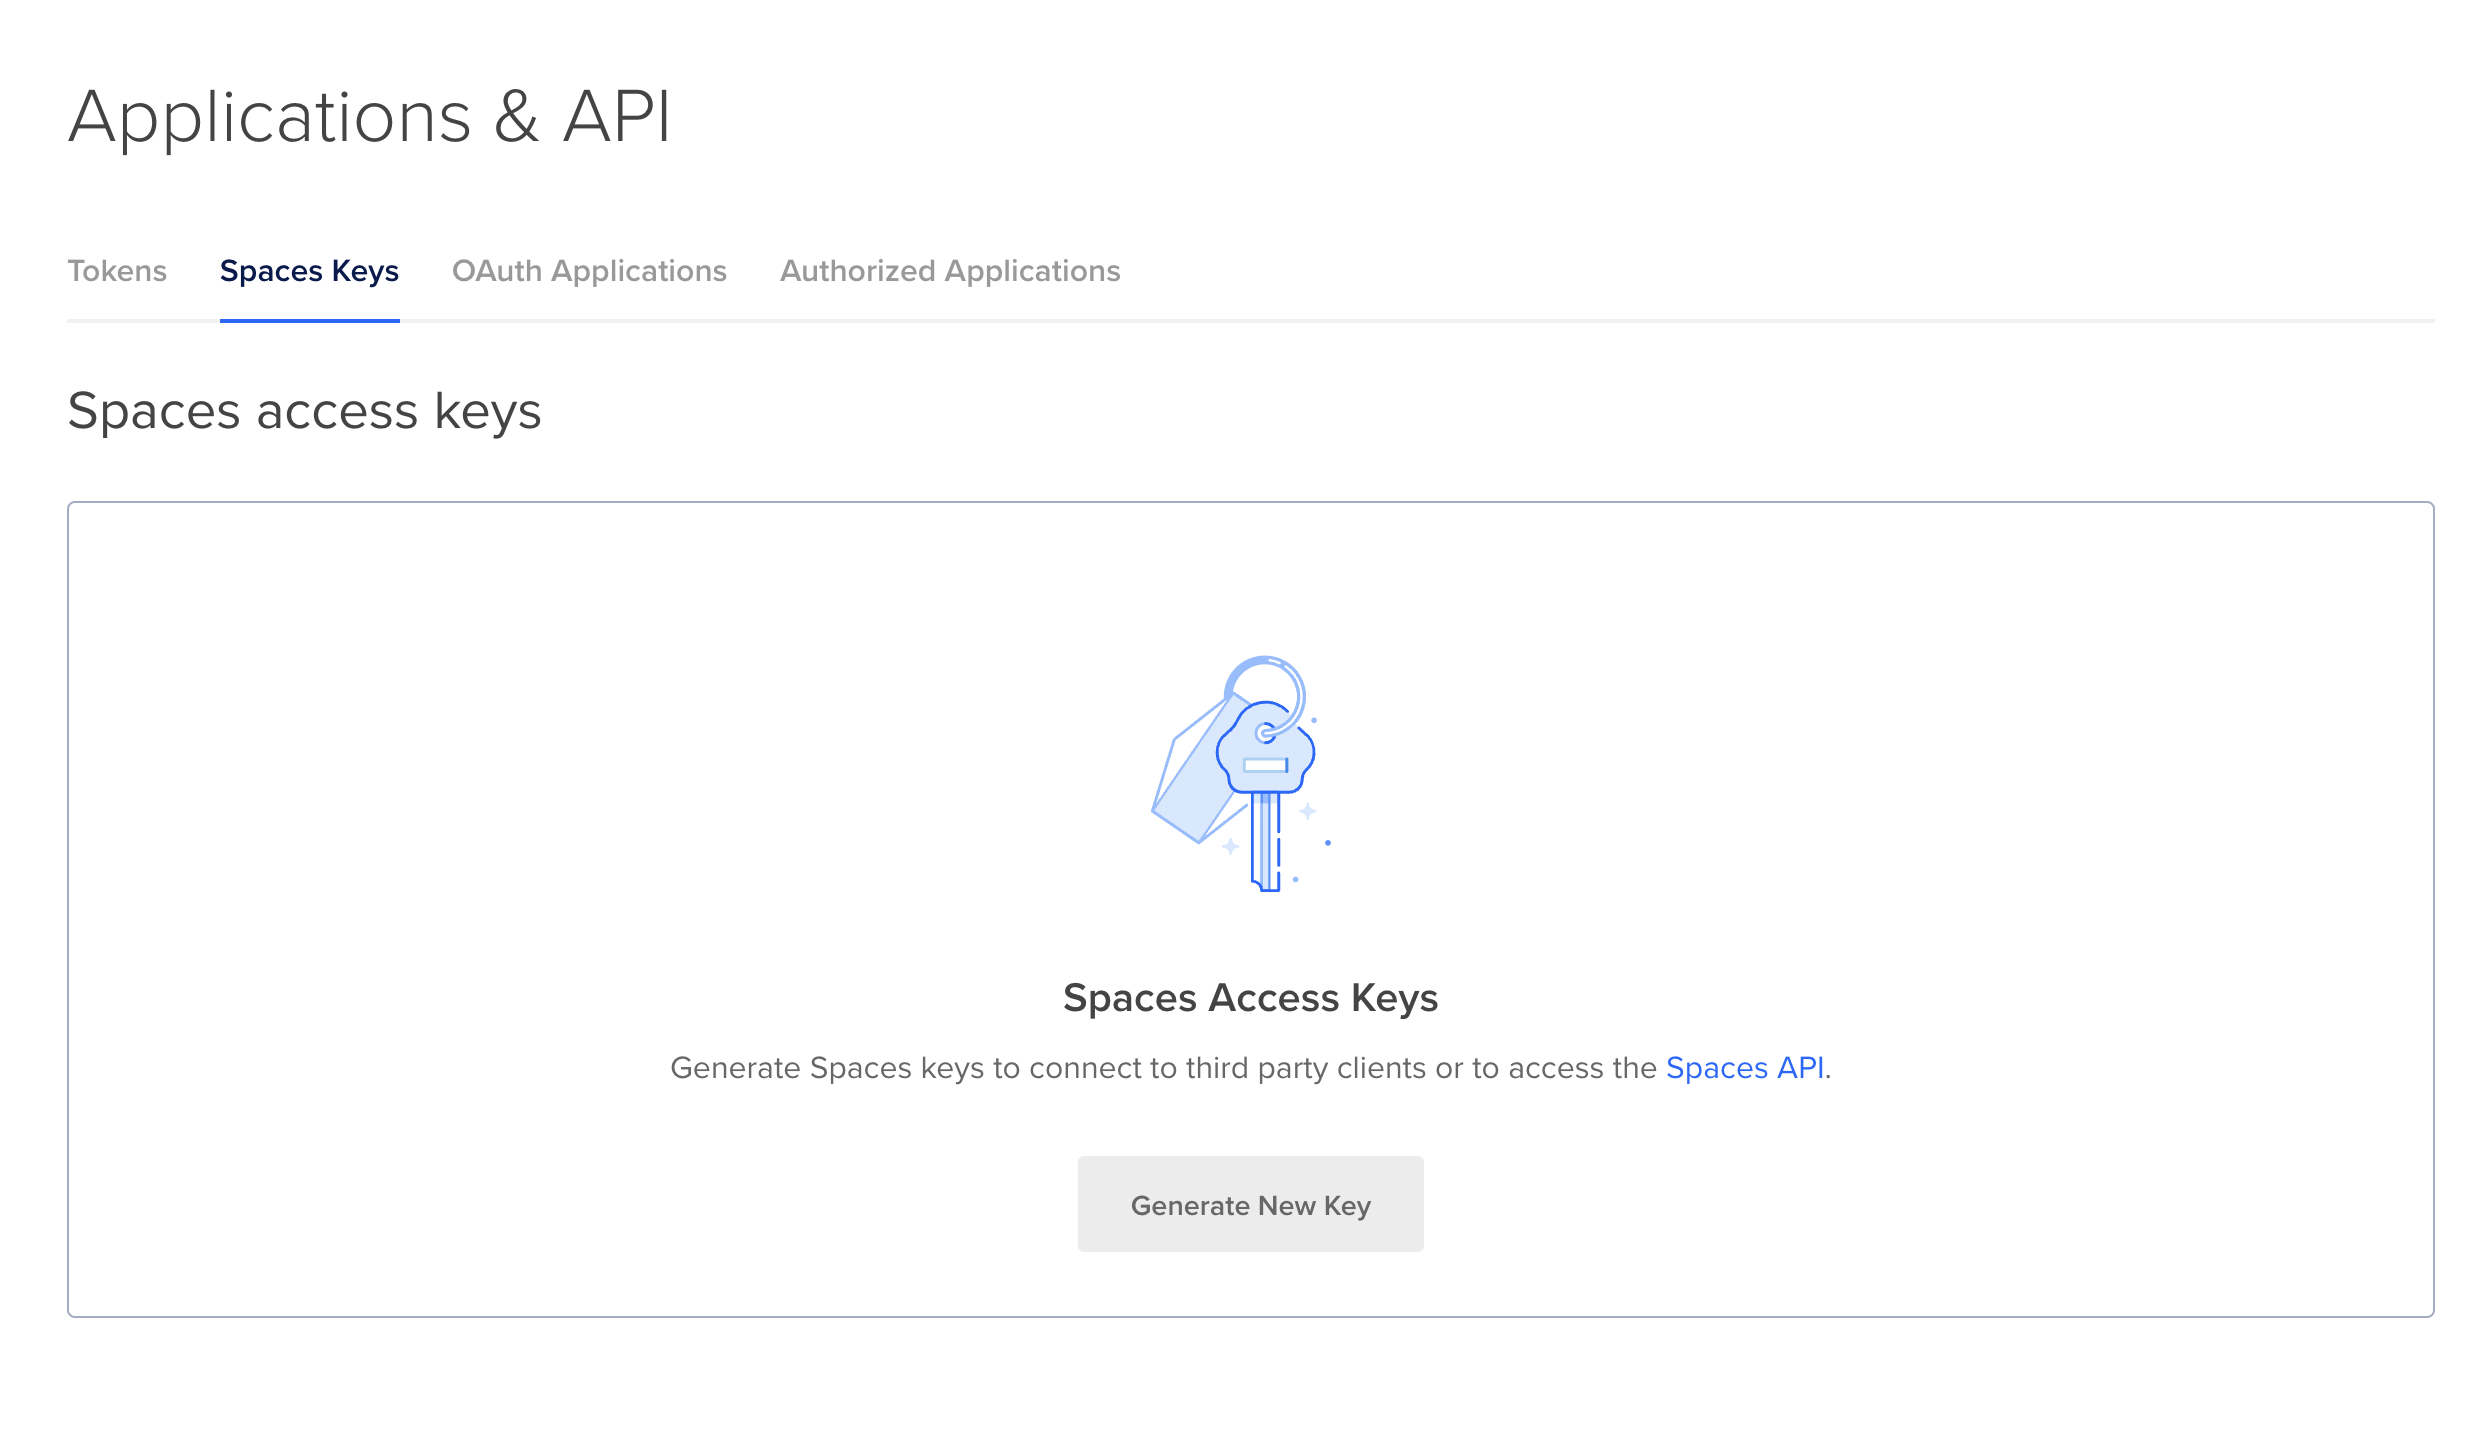
- In your Spaces access keys section, create your DO_SPACES_ACCESS_KEY_ID. When you create your DOSPACES ACCESS_KEY_ID it will generate your spaces access key and secret key.
Create account on Terraform Cloud
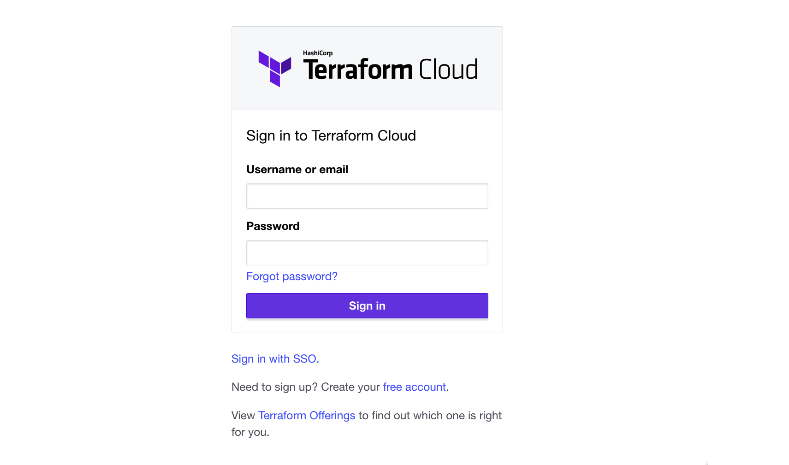
- Create and log in to your account on Terraform Cloud.
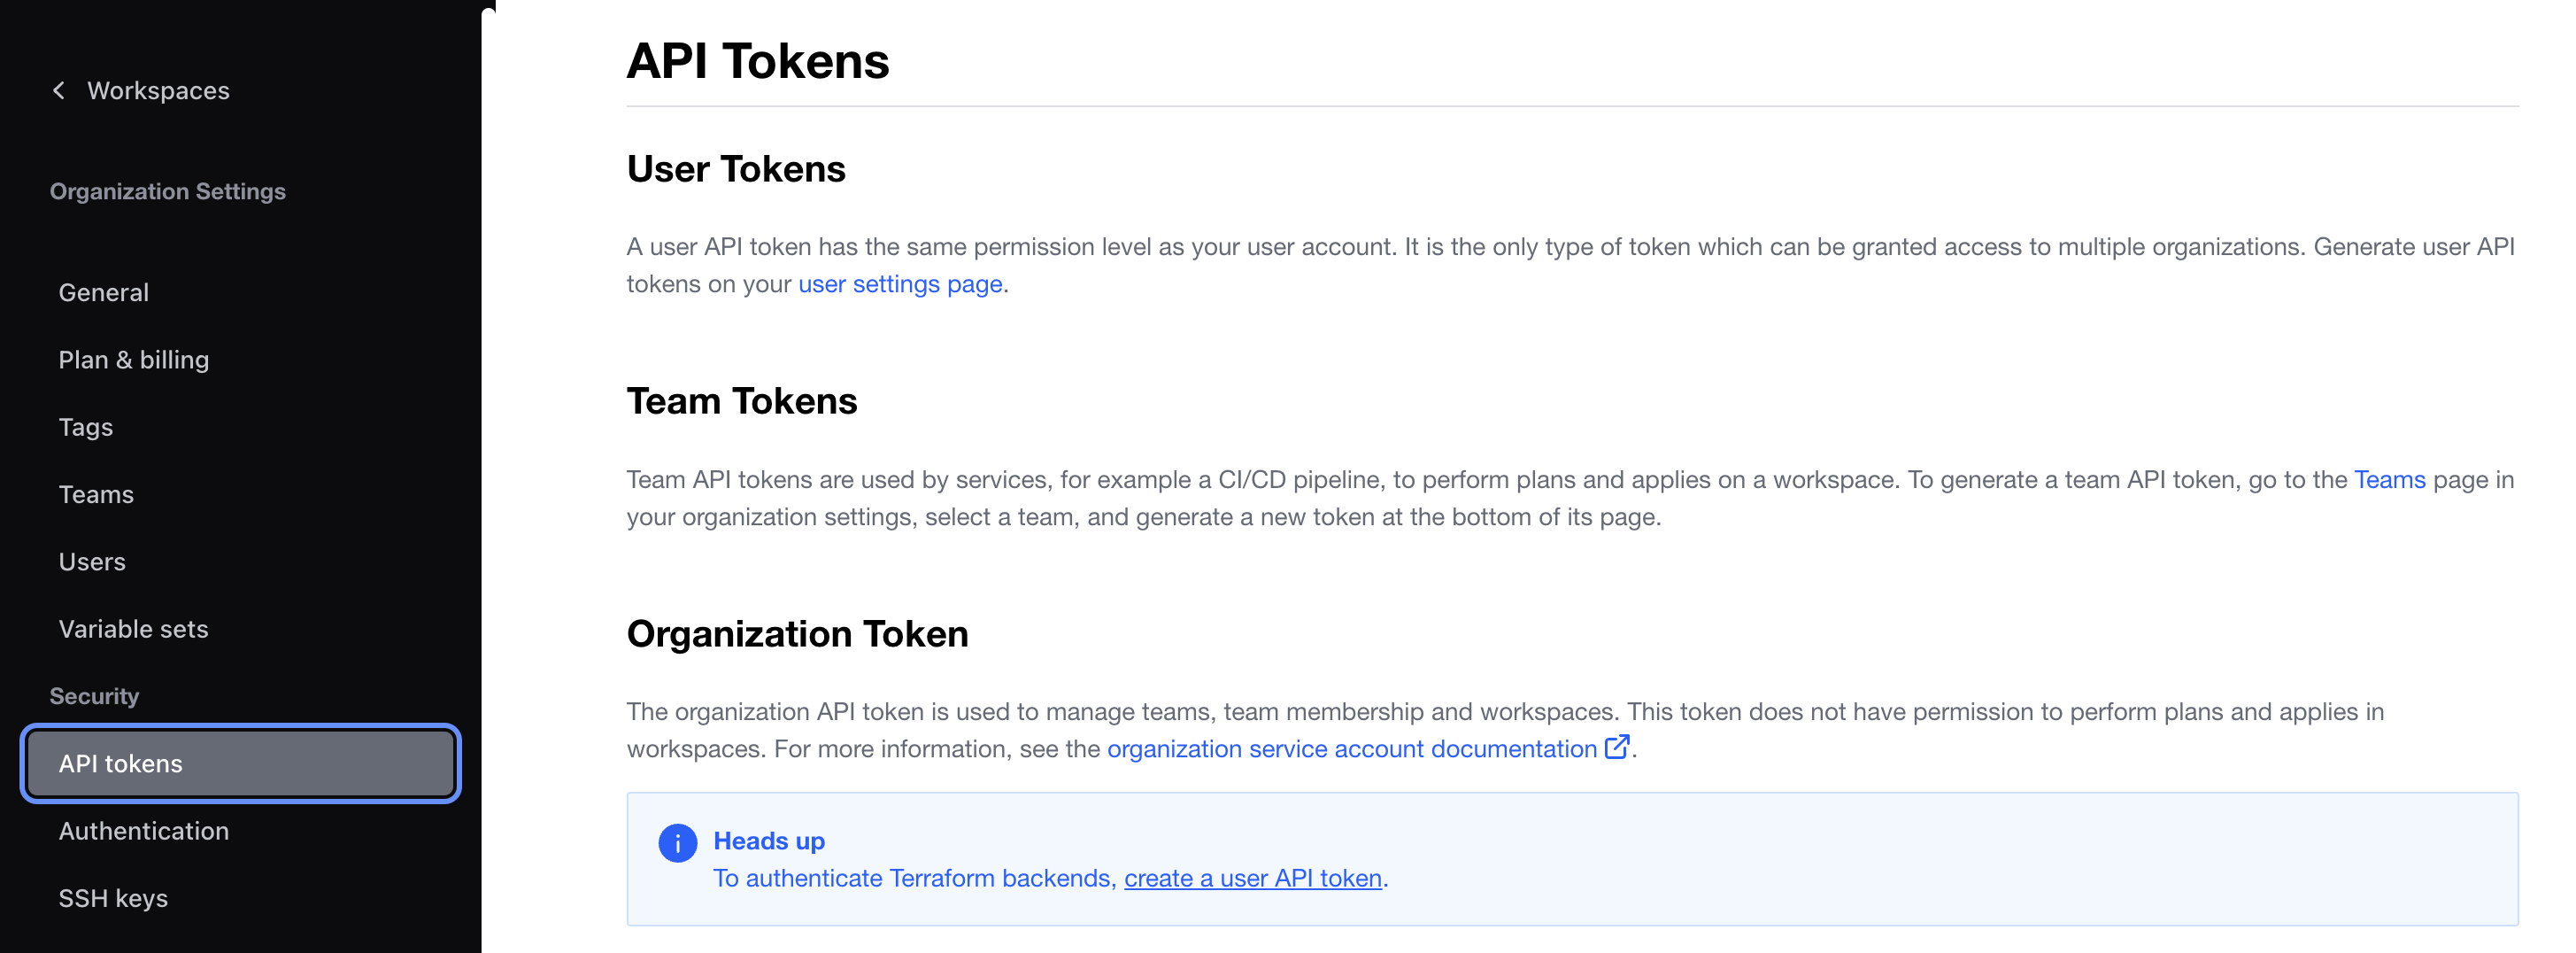
- Select API tokens and generate an API Token for your Terraform workspace.
Create Token from GitHub
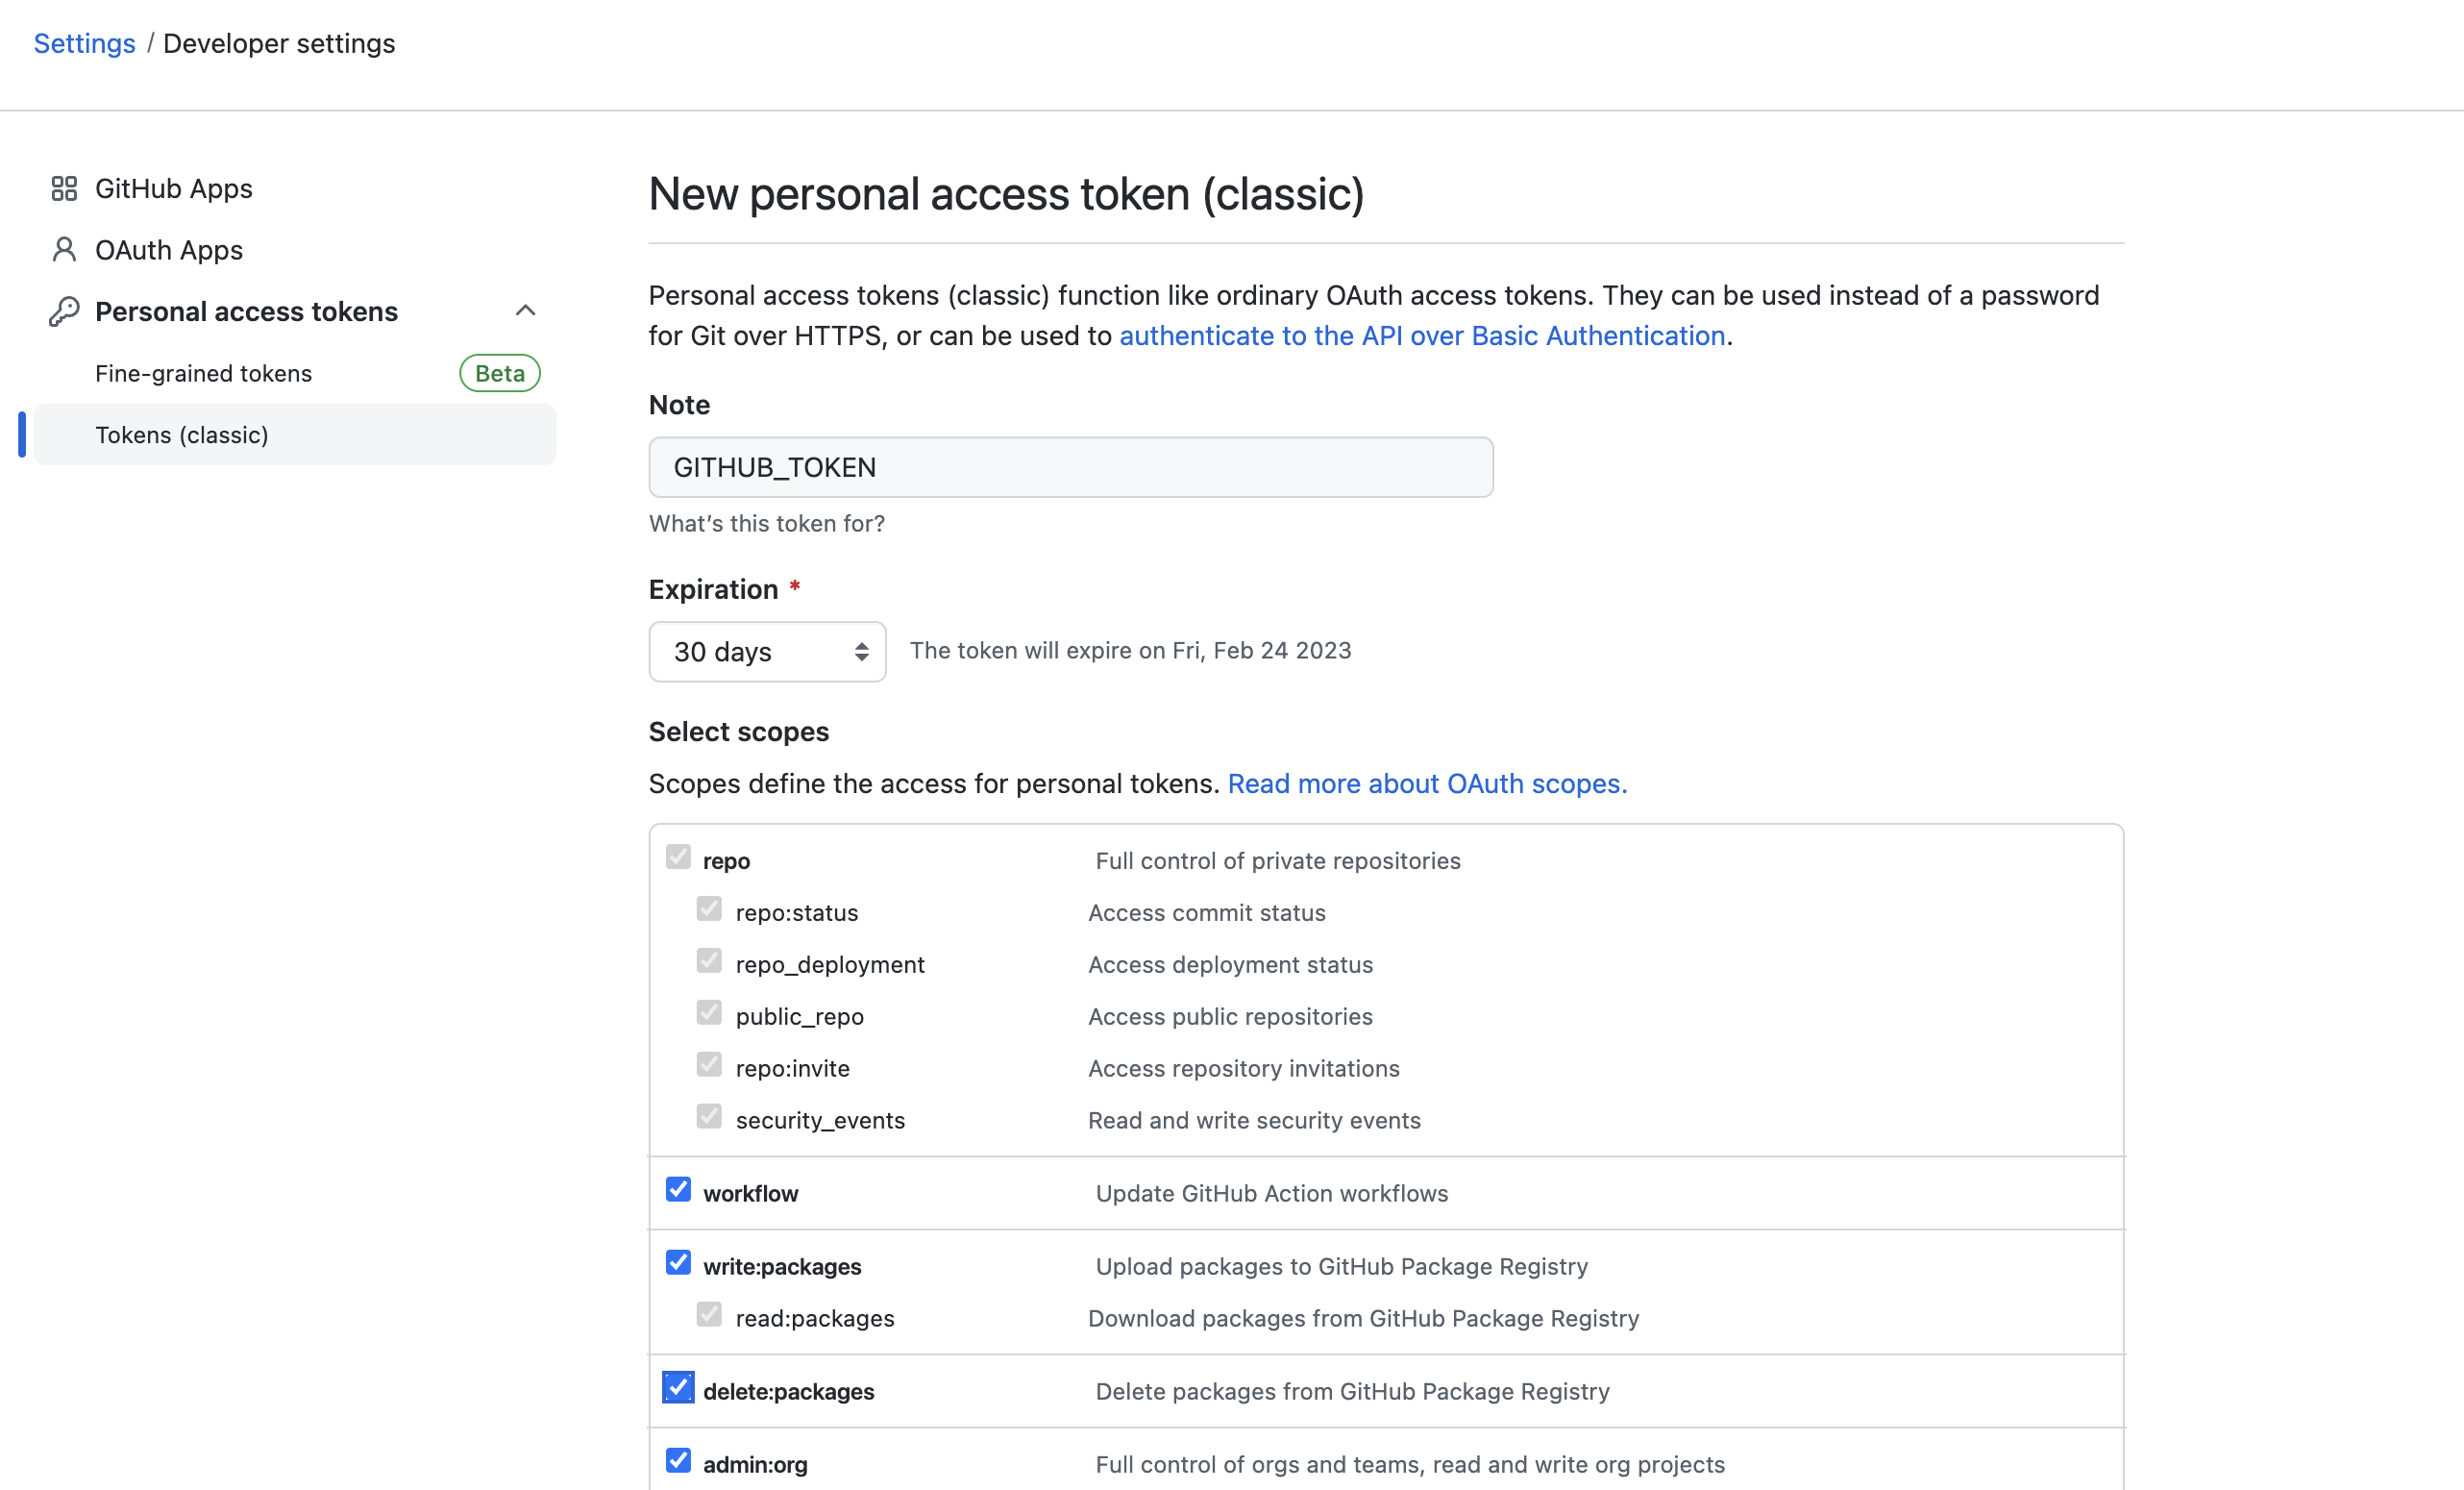
Next, create your GitHub token in your developer settings on GitHub and give it admin permissions.
Add Tokens to CTO.ai
Next, add the tokens you created from DigitalOcean and Terraform Cloud to your secrets on CTO.ai.
On your CTO.ai dashboard select Settings and click on Secrets and add al the secrets you created with the value.

Configs
You can pass and add different environment variables, database URLs, and other credentials for your workflow in the configs section on the CTO.ai dashboard. See the ops.yml file below to learn how to configure your DigitalOcean workflow.

Ops Yaml Syntax
Now that you have signed up to DigitalOcean and Terraform and created and added your API Keys and Terraform API token to the CTO.ai Vault, go to the repository you’ve cloned from our GitHub and add the secret keys in your ops.yml file.
In the ops.yml file, we have a series of commands starting with the setup workflow, which has static environment variables and secrets that are getting passed from our vaults for configuring access to DigitalOcean with Terraform Cloud.
BUILD AND RUN YOUR WORKFLOW
Build DigitalOcean Workflow
The build command allows you to build all of the containers that comprise your workflow across commands, pipelines, and services. You can build and run each container incrementally if you want to but since they are all sharing base images we are going to build them all from scratch.
- Next, build your DigitalOcean workflow using the
ops build .command and select setup - Setup Kubernetes infrastructure on DigitalOcean. Theops build .will build your workflow, the Docker image from your Dockerifle, and the files located in your path.

- The workflow will compile and build your image
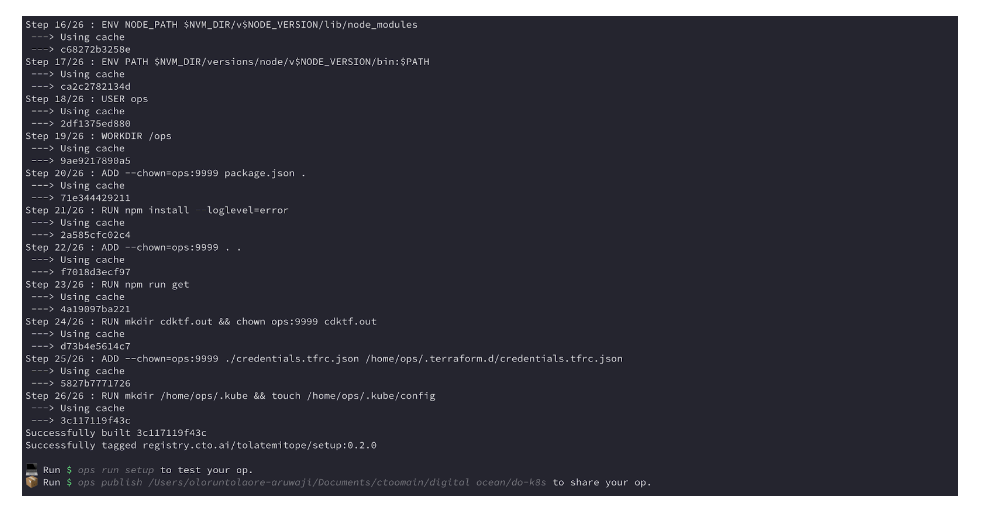
When your image is built, it’ll create an image ID, and successfully tag your image to your CTO.ai registry.
Setup DigitalOcean Infrastructure Workflow
Run your DigitalOcean workflow using the ops run . command. The ops run . command will provision your DigitalOcean stacks.
ops run . will pull up the ops yml file and the instructions from the file.
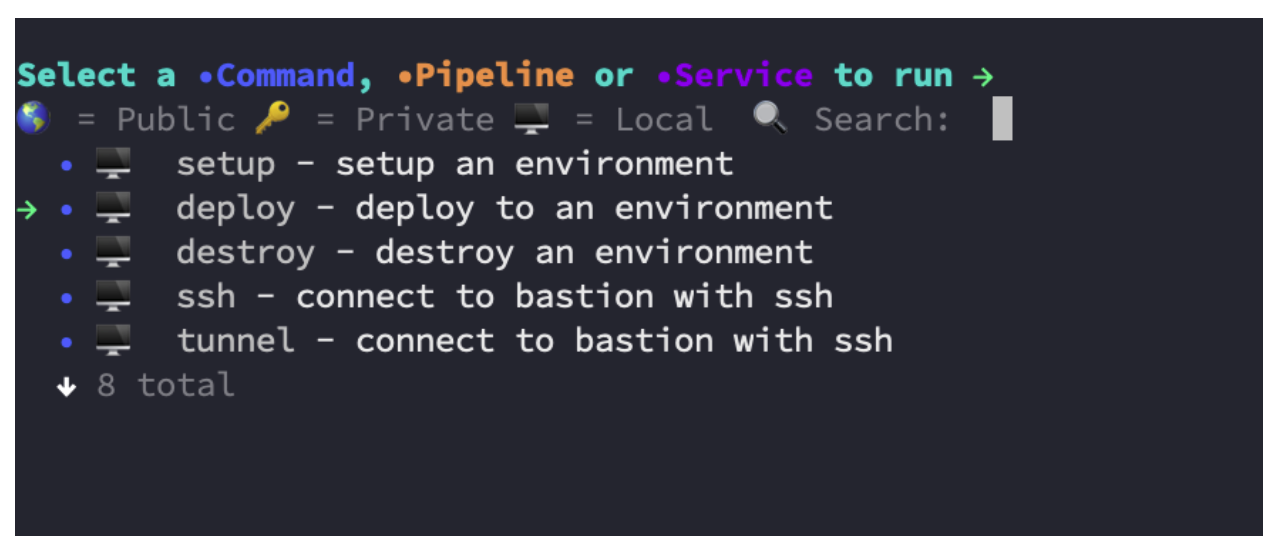
- Select setup - Setup Kubernetes infrastructure on DigitalOcean . The setup workflow is designed to set up our Infrastructure using a command. Run it locally on your CLI which will allow you to get your infrastructure setup. When you run the workflow, the setup command is now executing the workflow on our local Docker daemon via the Developer Control Plane

It will start running and loading your setup.
- Enter the name of your environment, you can use dev as the name of your environment.

- Enter the name of your application and hit enter.

- Enter the tag or branch you want to use for your workflow

- Your CLI will start deploying and setting up your DigitalOcean stack via your Terraform cloud organisation account.

This will compile those instructions into a Terraform plane using Terraform CDK (CDKTF). Terraform CDK is a very powerful tool that allows us to write different IAC in javascript, and we can combine that with our SDK to take user inputs and compile it down to a declarative infrastructure instruction.
View Configurations in Terraform Workspace
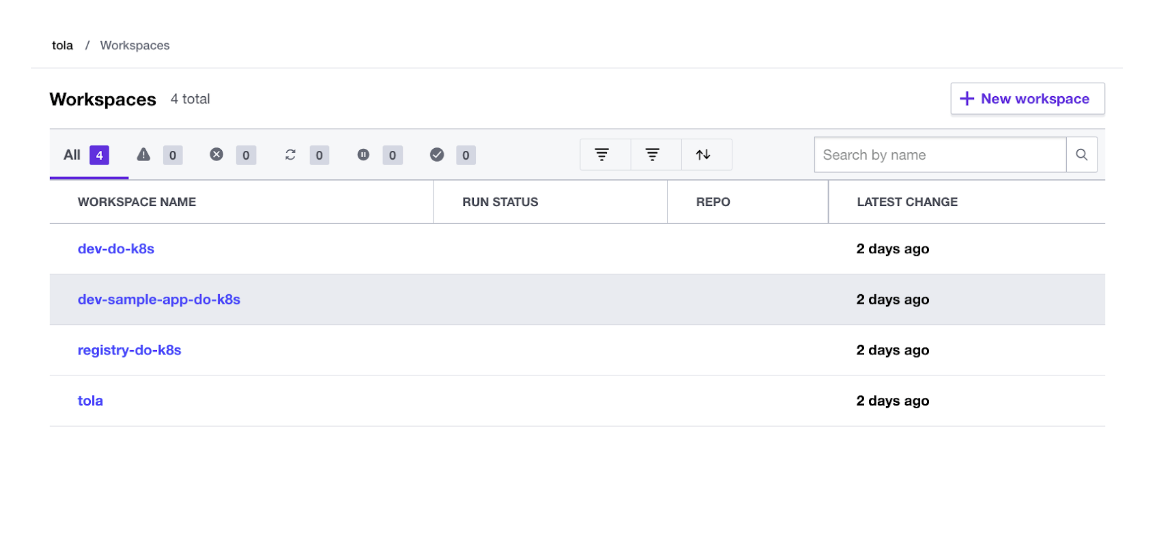
- Back in your Terraform workspace you will see your DigitalOcean workflow created on your workspace. As it is synchronizing the state to Terraform Cloud and your workflow grabs the output and synchronizes it in your developer control plane so that different developers who interact with it have different workflows are able to pull state.
- Run your
sample-apppipeline usingops run .you can run all of your workflows locally and remotely.
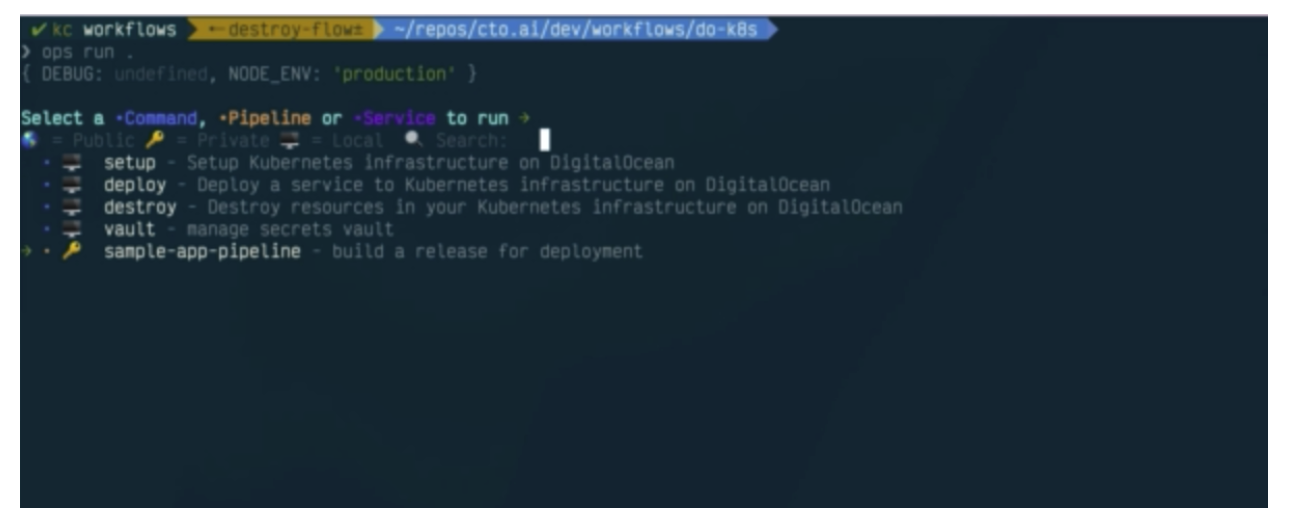
- Here, we will run the pipeline locally, you can see it’s running and building your image and it will push your image to the container registry using the main tag.
As soon as your image is pushed to the container registry, you can issue a deployment workflow that will tell your Kubernetes cluster that it can find your image in the registry and run it.
Your service can run on CTO.ai, in this process we are deploying the service to our Kubernetes Cluster. We can build and trigger our workflow using the pipelines and services, this lets you run the workflow on the control plane, and that will allow you to treat the control plane as a preview environment, and you can run your deployment commands and promote your build to your specific environment running on DigitalOcean
Run the Deploy Workflow
- Next, run the deploy workflow using the
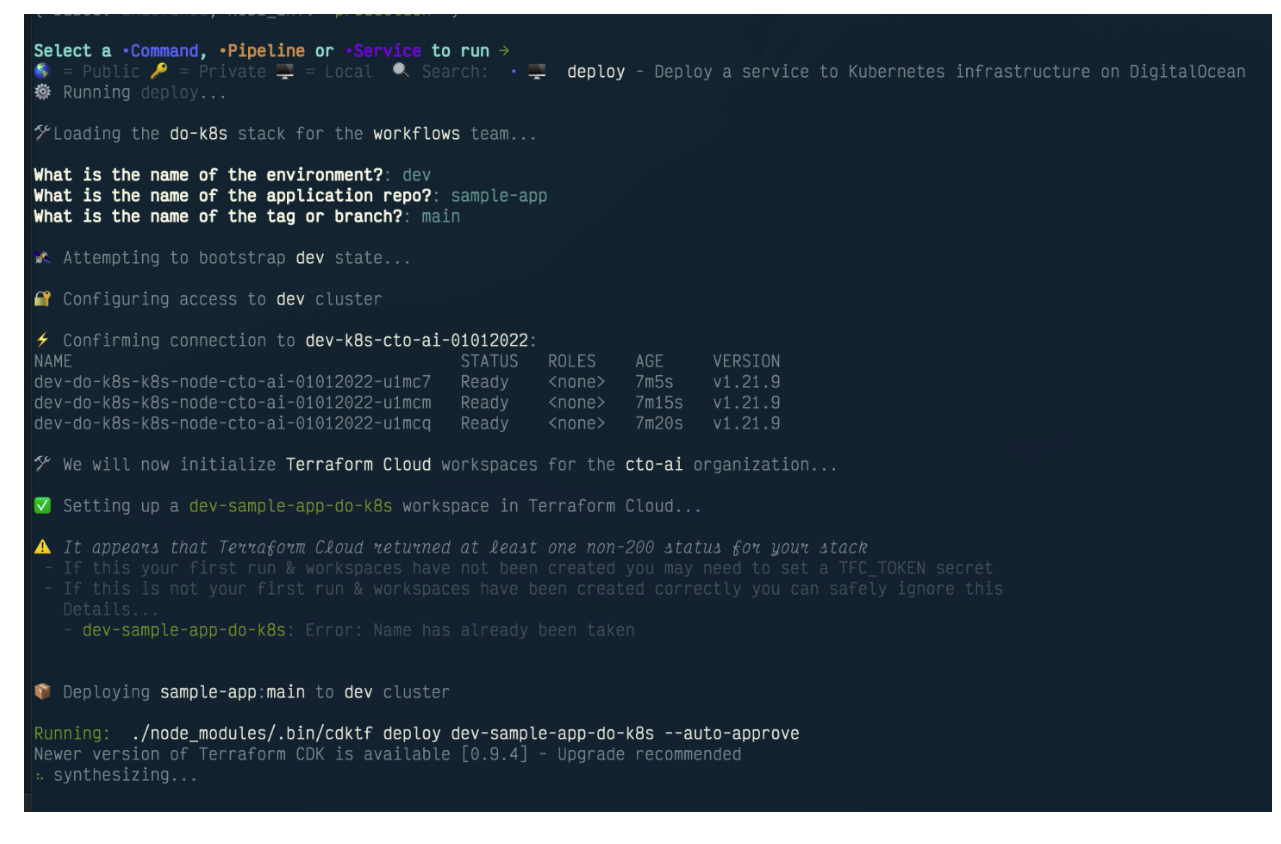
ops run -b .command, the deploy workflow synthesises through Terraform based on the instructions you give to it. The workflow will use CDK to create your declarative instruction, it will then apply it and synchronise the state to Terraform Cloud and CTO.ai.
- Your deploy workflow will confirm that it can connect to your cluster and synthesises the instructions in other to deploy it
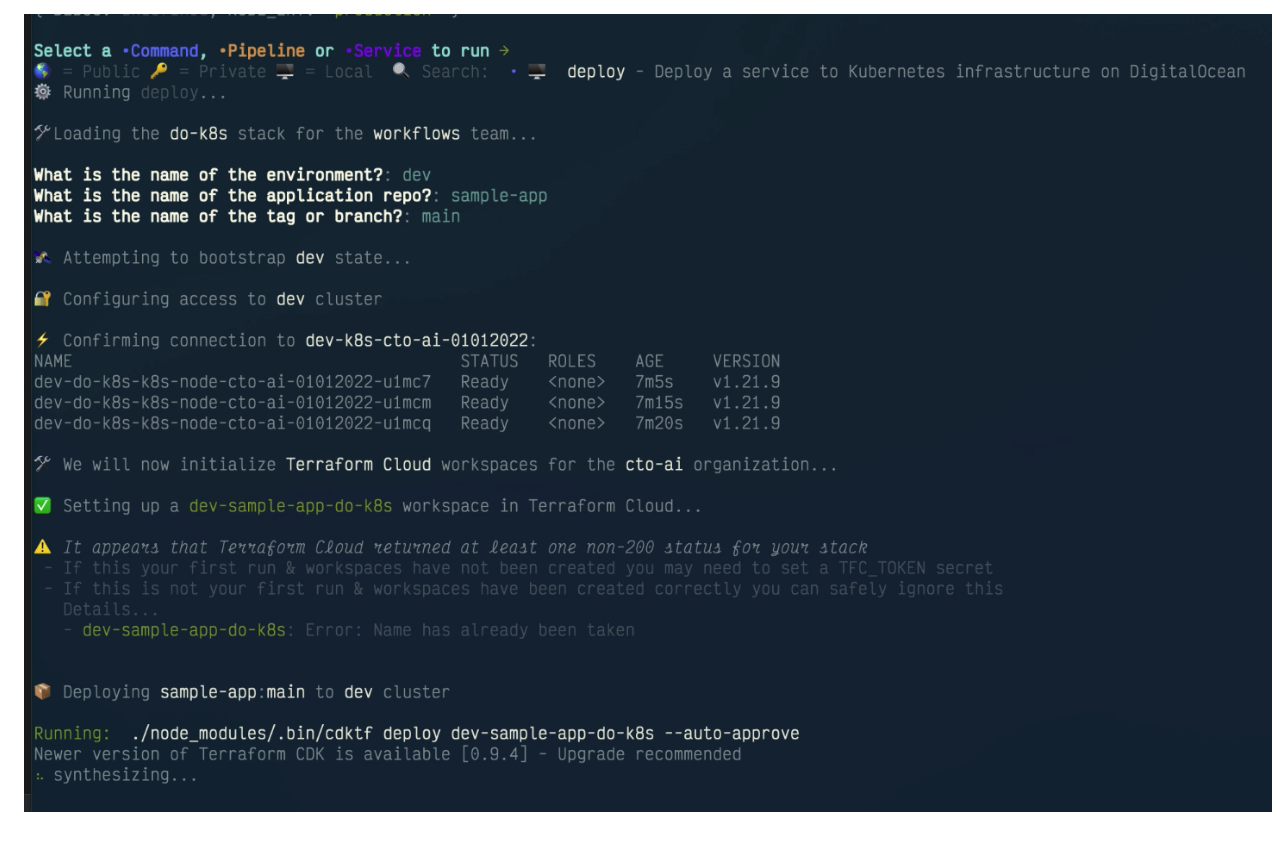
The synthesizing workflow will take all the instructions you give to it and compile them into a plan. When the plan is applied you will see your kubectl manifest entries have been created.
Your DigitalOcean bucket is created with your deployment manifest and service manifest.
Kubernetes Services are Running
Back in your Lens application, you can see that your pods and services are now running. They might take some time to get deployed. When your service is created we will use the external service to hit the load balancer.
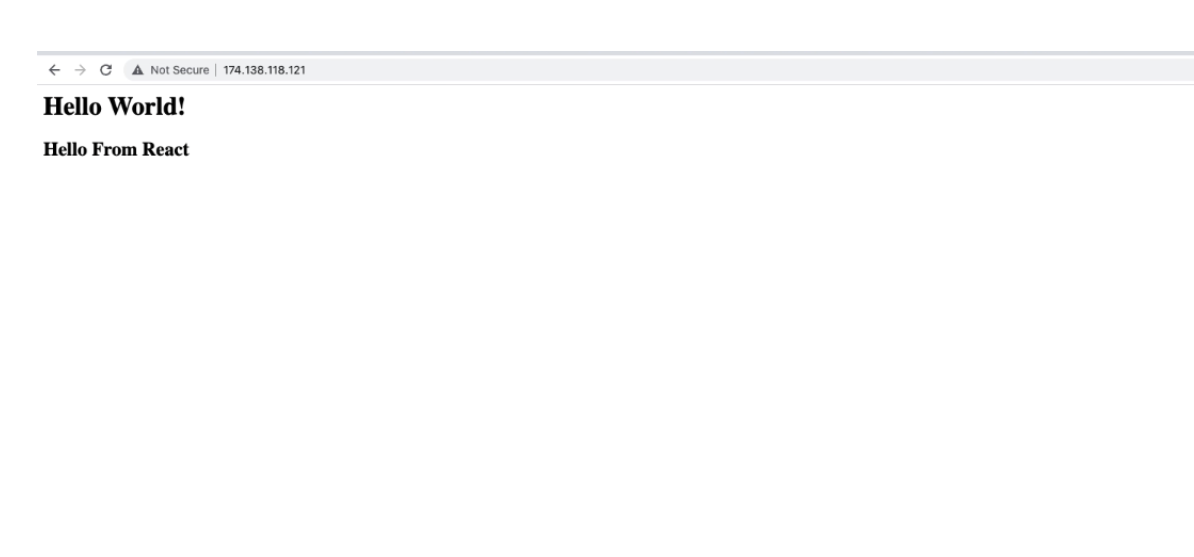
- When your service is created, grab the external IP and paste it into your browser.
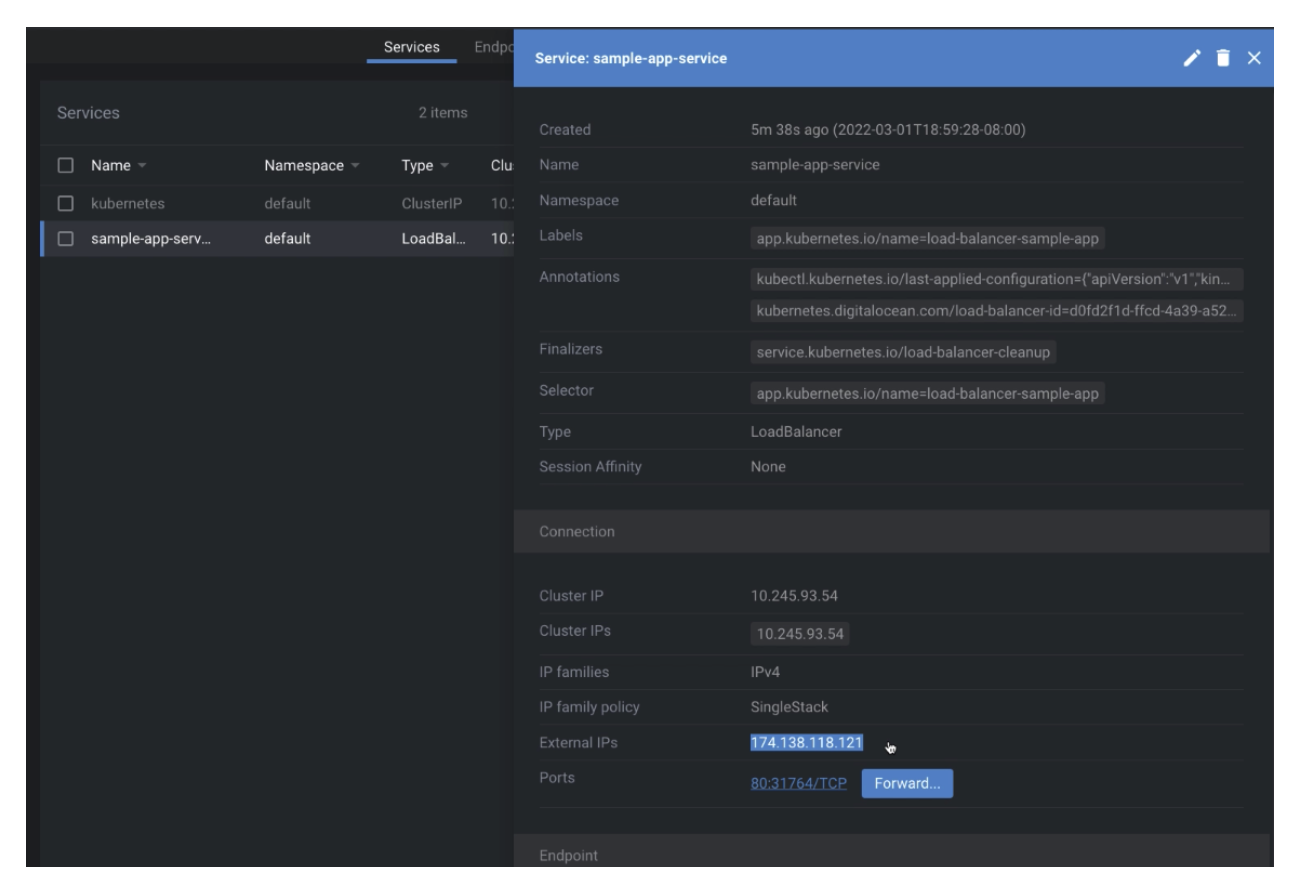
- You will see that your service is now accessible.
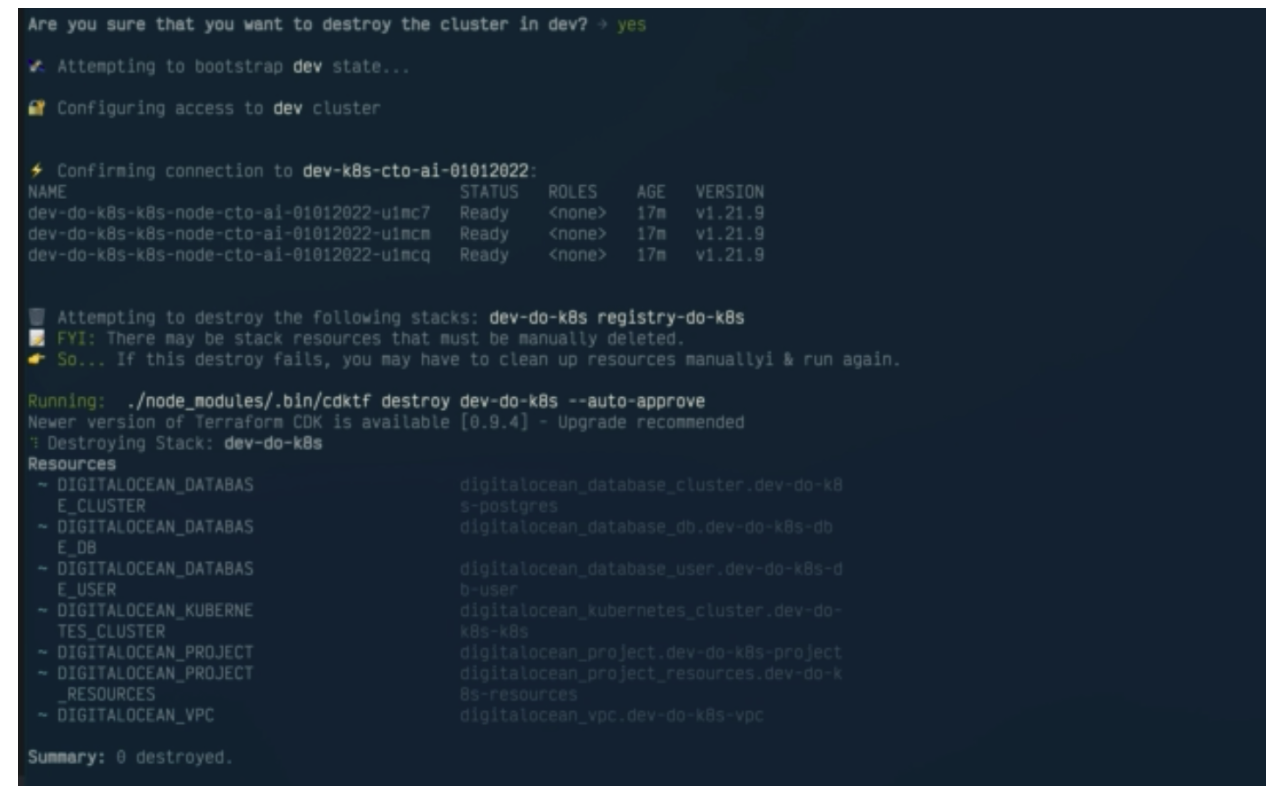
Destroy your Environment
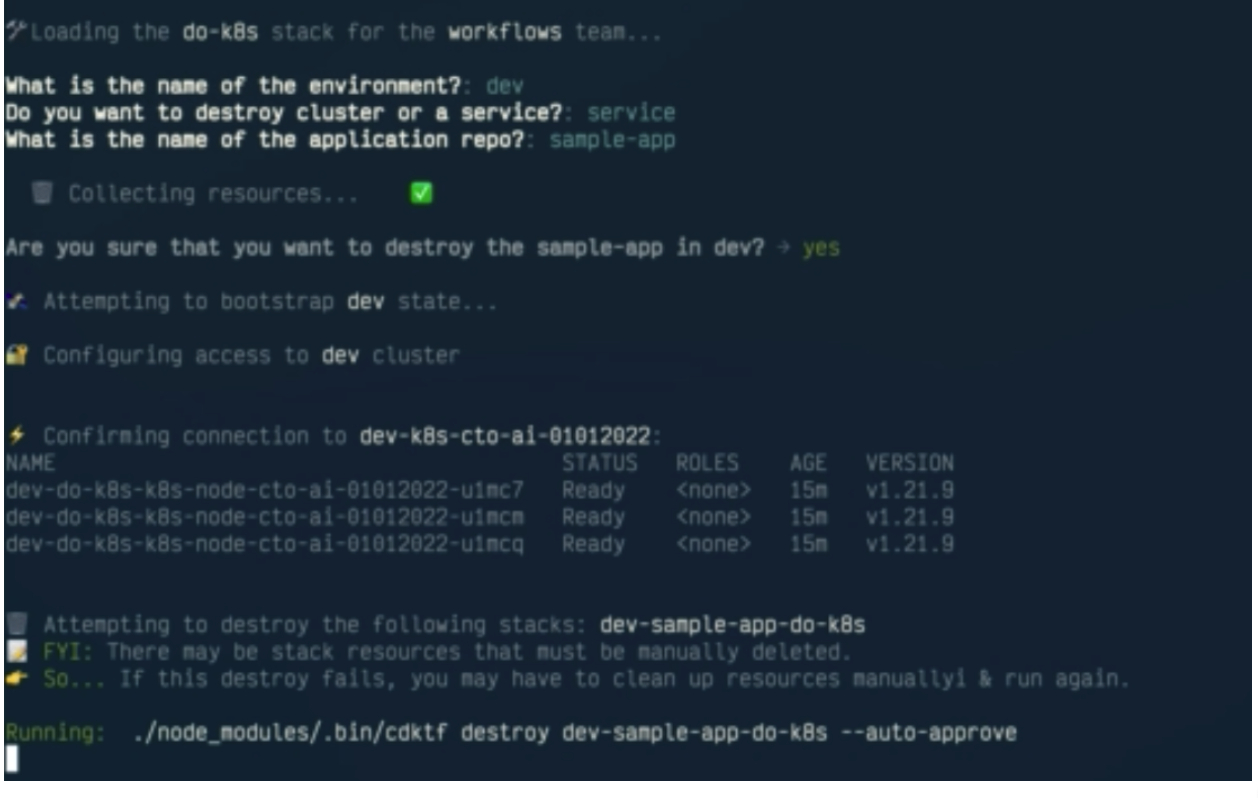
Destroy your environment by tearing down all your services using the ops run . command. The destroy workflow lets you select between destroying a service.
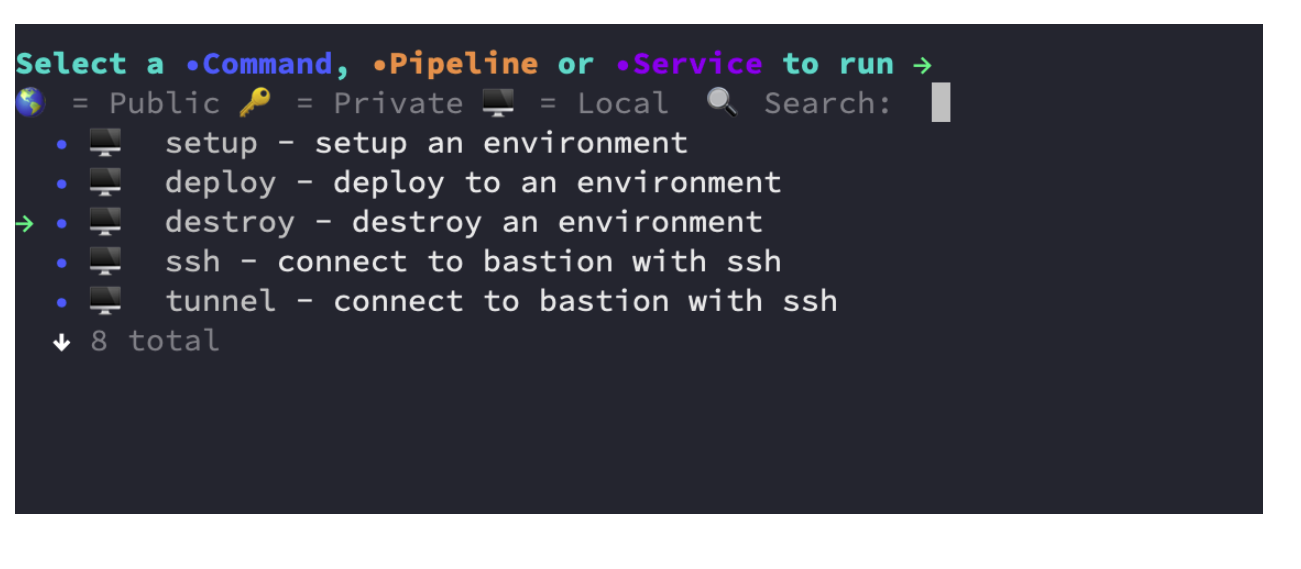
- First of all, destroy your service before the cluster so that you don’t alter any state in your Terraform cloud.
- Select your
devenvironment, yourservice andsample-app
- Next, destroy your cluster using
ops run .This will return the entire state of your control plane and cluster to a clean state.
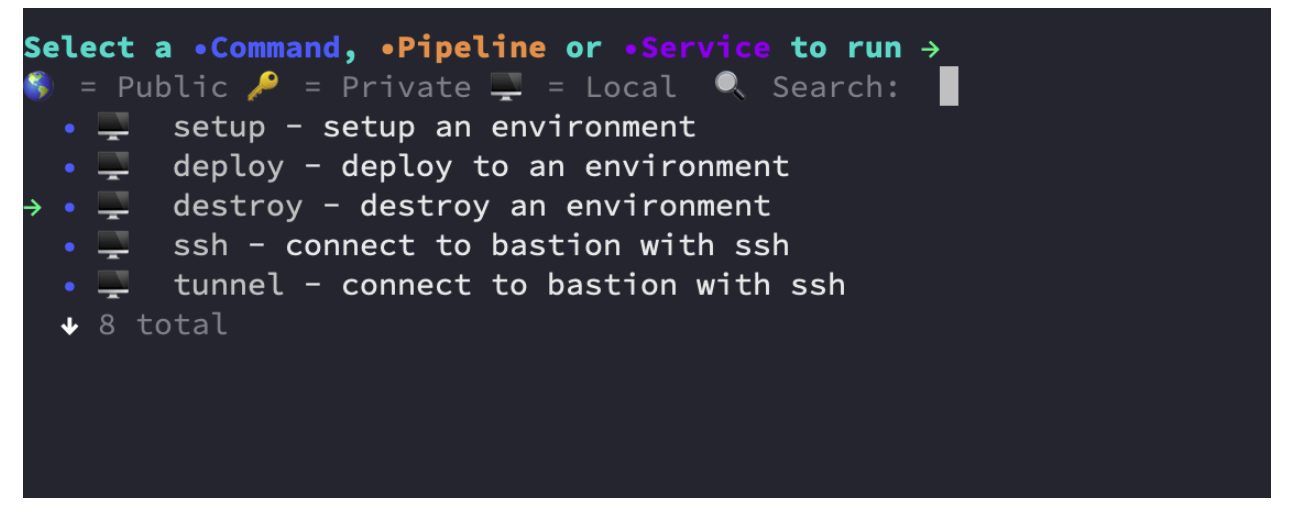
- Select your Cluster and click on Destroy. The process will return your project to a clean state, so next time you want to provision your Infrastructure there wont be a conflict in resources.
