AWS ECS Fargate
AWS ECS PLATFORM SETUP
- Before you get started with the AWS ECS Fargate Workflow, you need to check out our setup Workflow to Create your Account on CTO.ai and install CLI.
Installation
The AWS ECS Fargate is open source on GitHub, and you can install it by cloning the repository.
When you’re done cloning it, follow the instructions below to build and deploy your Workflow.
Create Secrets from Settings

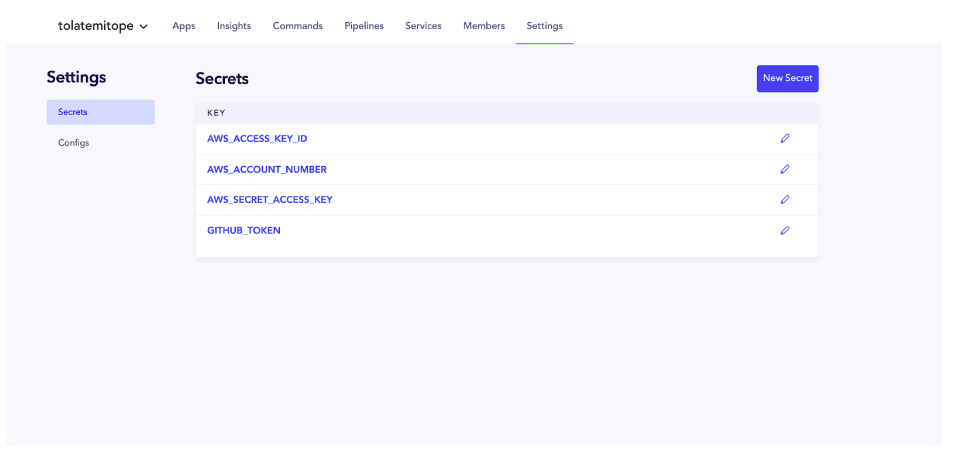
- Back in your CTO.ai dashboard, create your secrets by selecting Settings and Secrets.
Secrets are encrypted environment variables that CTO.ai utilizes within your workflow to build and run your application and deployments.
You will create four secrets:
- AWS_ACCESS_KEY_ID
- AWS_SECRET_ACCESS_KEY
- AWS_ACCOUNT_NUMBER
- GITHUB_TOKEN
- To create your
AWS SECRET KEYANDACCESS KEY. Log into your AWS Account, select the Identity and Access Management (IAM) dashboard, create a new user, copy the Access Key ID and Secret access key and paste it in your secret dashboard on CTO.ai.
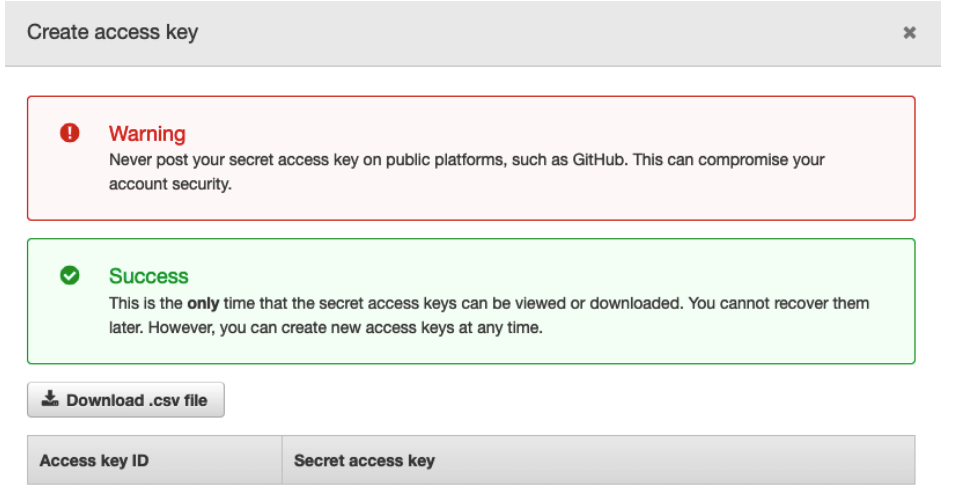
- Your AWS ACCOUNT NUMBER can be gotten from your User ID on the top right corner in your AWS Console.
Generate Github Token
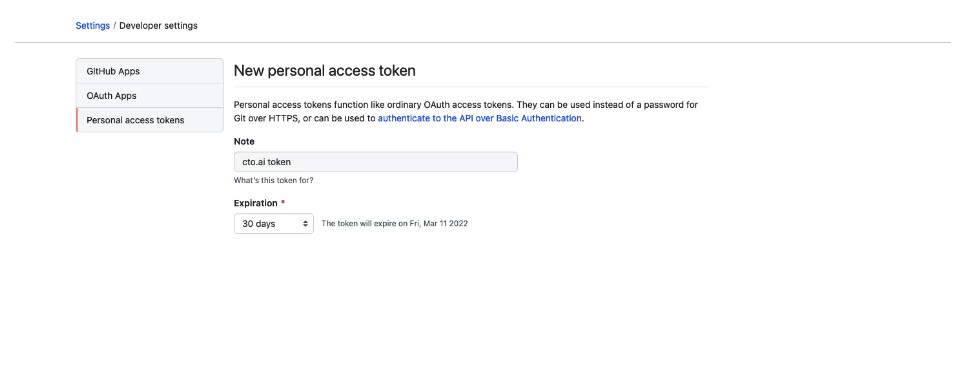
Generate your GITHUB_TOKEN from Github by going to Settings → Developer settings → Personal access tokens → Generate new token on your Github profile.
- Back in your CTO.ai Secrets dashboard create your secret key/value pairs.
ECS - Fargate Demo
Our ECS-Fargate stack is a PaaS workflow with GitOps / ChatOps features that supports ECS, Fargate, Aurora, SQS, Redis, and Autoscaling via CDK.
On our GitHub page, clone the workflow.sh repository. The workflow.sh repo contains the AWS ECS and Fargate stack that acts as your infrastructure for you to be able to deploy, manage and run your container services, resources, and sample applications.
Before you build the ECS - Fargate workflow, you need to build and run your sample-app (Your sample App can be a Node.js HTTP server with a Dockerfile and ops.yml file). You can attach your sample-app to your ECS repository or run it independently.
You will need to update the event triggers in your ops.yml file to let the platform know that your sample-app on your organization is the event that should trigger your pipeline or service. Here is my sample-app ops.yml file. You will see in the existing example of how to tell your CTO.ai team to trigger the pipeline or service when you merge a pull request or create a tag.
Update your temporary static environment variables to build and run your sample-app locally if you want to seed the first image to ECR and complete the initial ECS setup for your workflow.
ECS -Fargate Workflow Pipelines
Build Pipelines locally with the CTO.ai CLI
- In your terminal, enter the
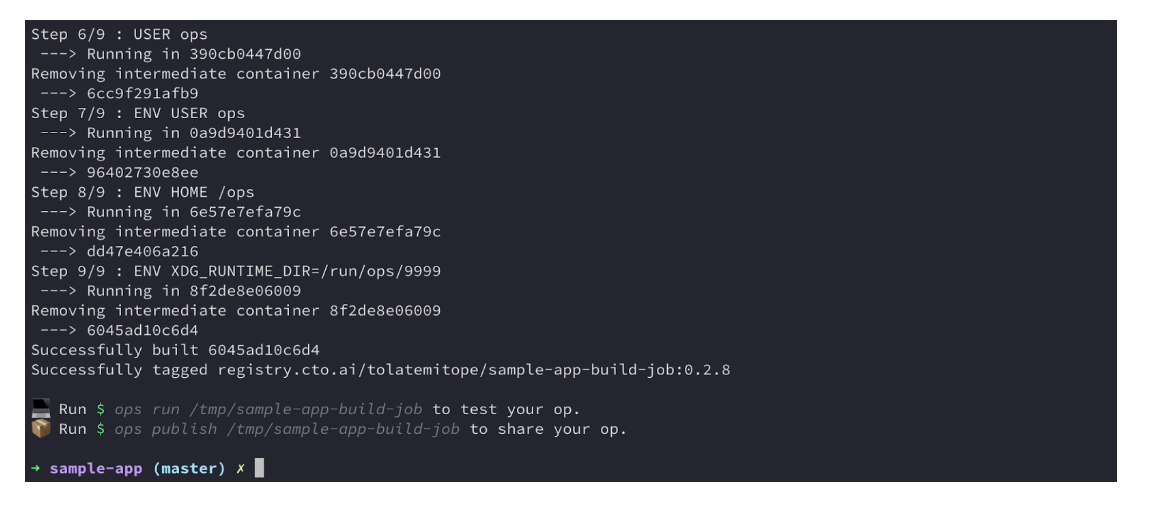
ops build .command and select the sample-app-pipeline. Thisops build .command will build your op for sharing, your Docker image from your Docker file, and the set of files located in the specified path you created in your source code.

- When your image is built, it’s going to create an image ID, and successfully tag it in your CTO.ai registry.
Run Pipelines locally with the CTO.ai CLI
Run your pipeline by entering ops run . in your terminal. The ops run . command will start the workflow you built from your team or registry.
- Select the sample-app-pipeline - build a release for deployment on fargate

- It will start running your pipeline job
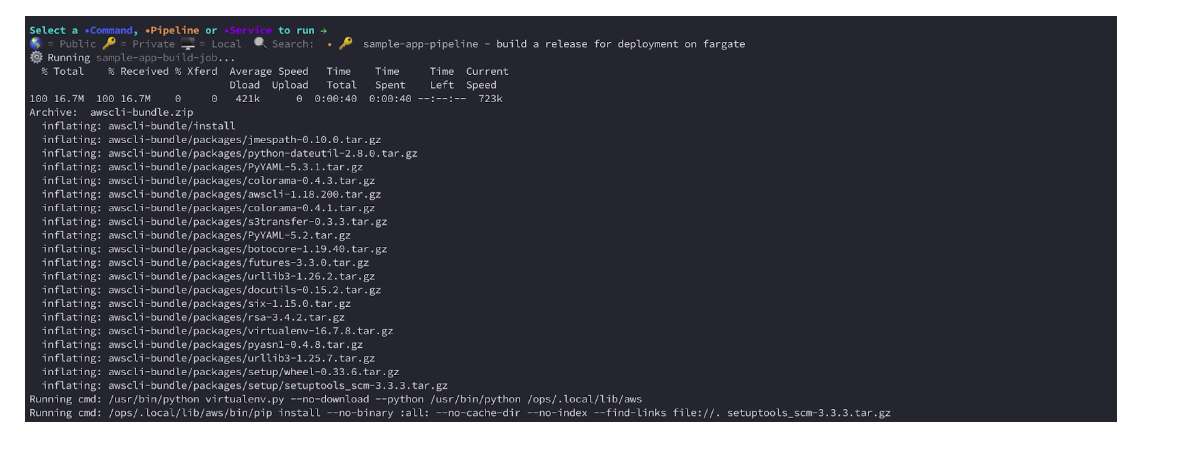
Wait for some time, you will see that your pipelines have been pushed to your ECR Repository on AWS.
Run and set up your Infrastructure
Back in your AWS ECS Fargate workflow, build and run your workflow using the ops run -b . command. This will provision your AWS ECS and Fargate stacks using Cloud Formation.
- Select setup an environment
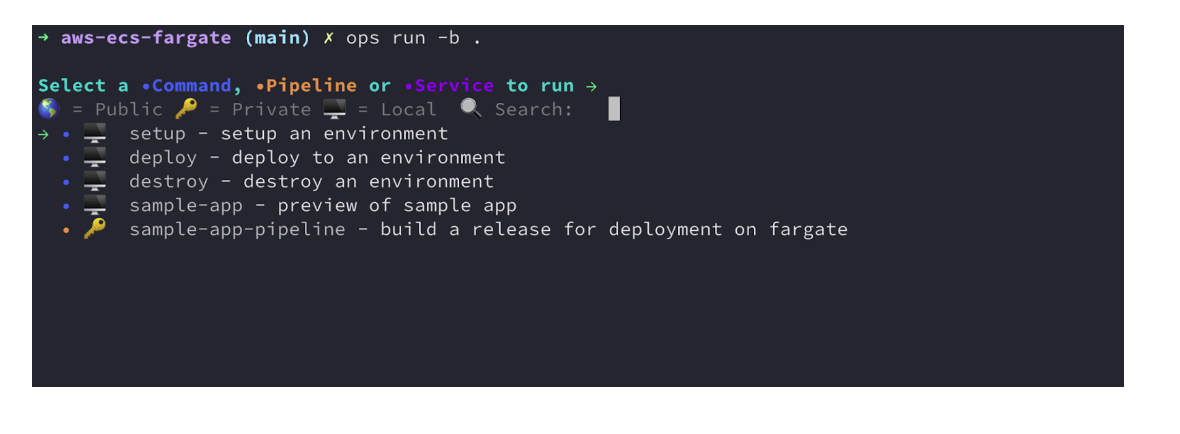
The process will build your Docker image and start loading up your Fargate stack.
- Enter the name of your environment. You can use dev as the name of your environment.

- Enter the name of your application repo you created which is sample-app and hit enter.

- Your workflow will start deploying and creating resources on your AWS console using CloudFormation.
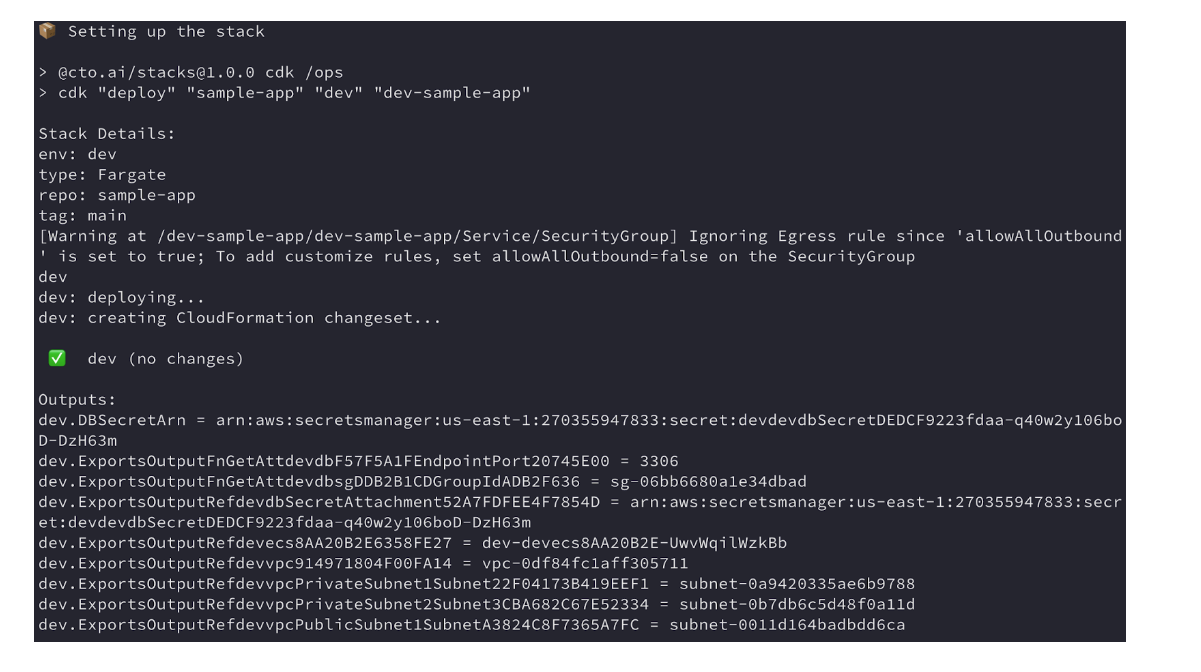
- You can visit your CloudFormation console to see your stack and events
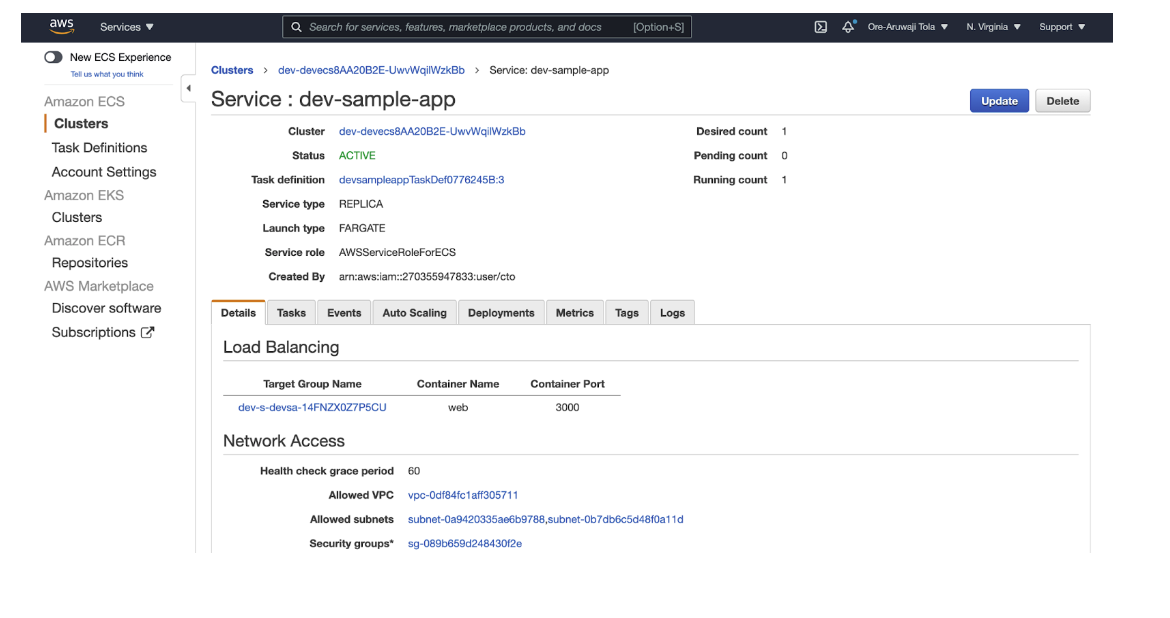
Note: Your build won’t complete until your ECS cluster finds an image that exists in your ECR registry tagged main. When it sees the image your stack creation is going to be completed.
Build & Publish Pipelines locally with the CTO.ai CLI
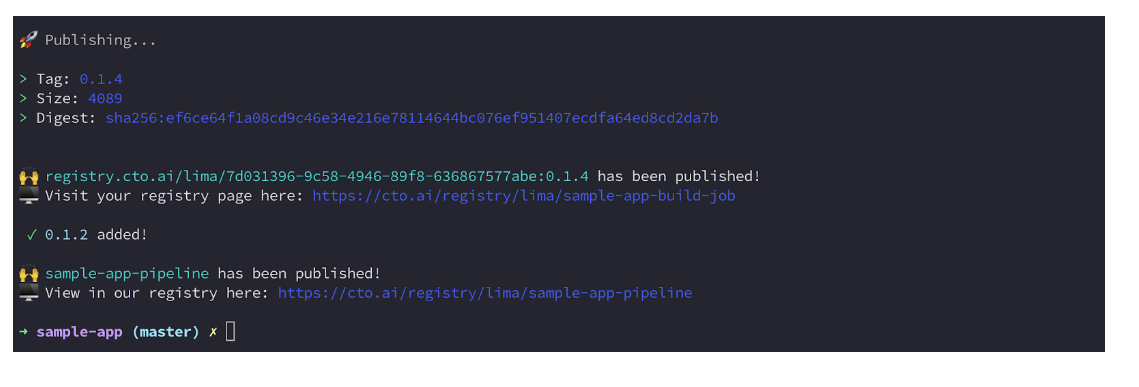
Publish your pipeline from your sample-app application using the ops publish . command. The process will start creating the release and eventually publish your pipeline. In your command line, you will be able to see the size, tag, and registry name.
Build Services locally with the CTO.ai CLI
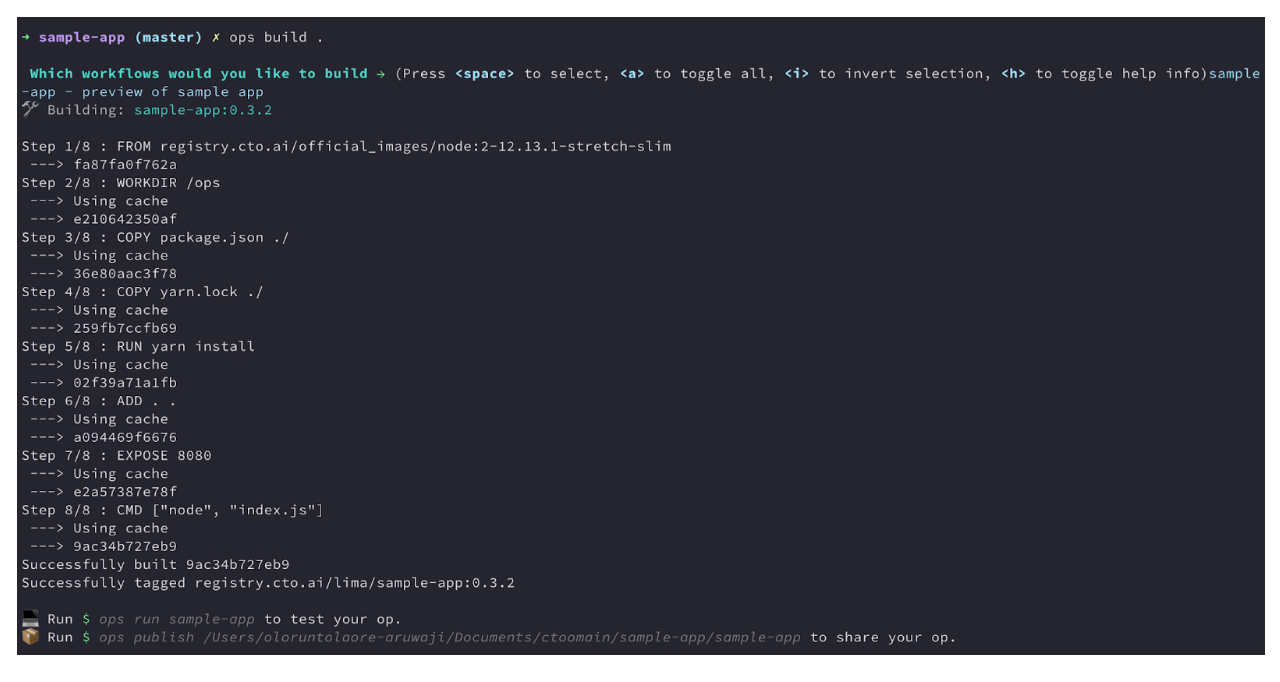
To build your service, enter the ops build . command in your terminal. Select sample-app-preview on your terminal.

- Wait for some time your sample-app service will build
Publish Services locally with the CTO.ai CLI
Publish your services using the ops publish . command.

Enter the value of your changelog, wait for some time, and your service will get published.

Trigger your Pipelines and Services
Trigger Pipelines using Events
To trigger your pipelines and services you need to merge a pull request or create a tag on your sample-app repository on Github. Your pipeline or service will be triggered when one of those events happens.
- In your sample-app repository on GitHub, create a pull request and merge it.
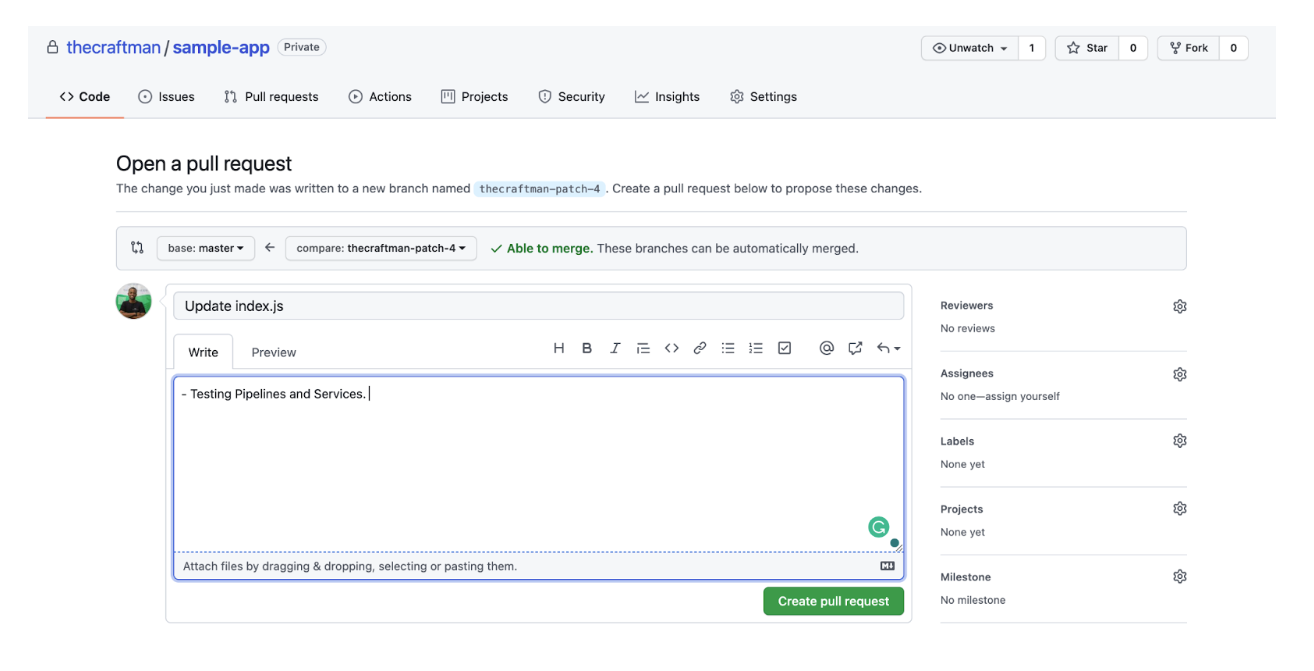
- After merging your pull request. Visit your dashboard on CTO.ai you will see your sample-app-pipeline running.

- Wait for some minutes for the process to be completed; you will see your pipeline.

- You can also click on your sample-app-pipeline to see more details about it. You will see an overview of all the last pipelines that have been triggered, the date and time it was run, RUN ID, VERSION tag, and the STATUS.
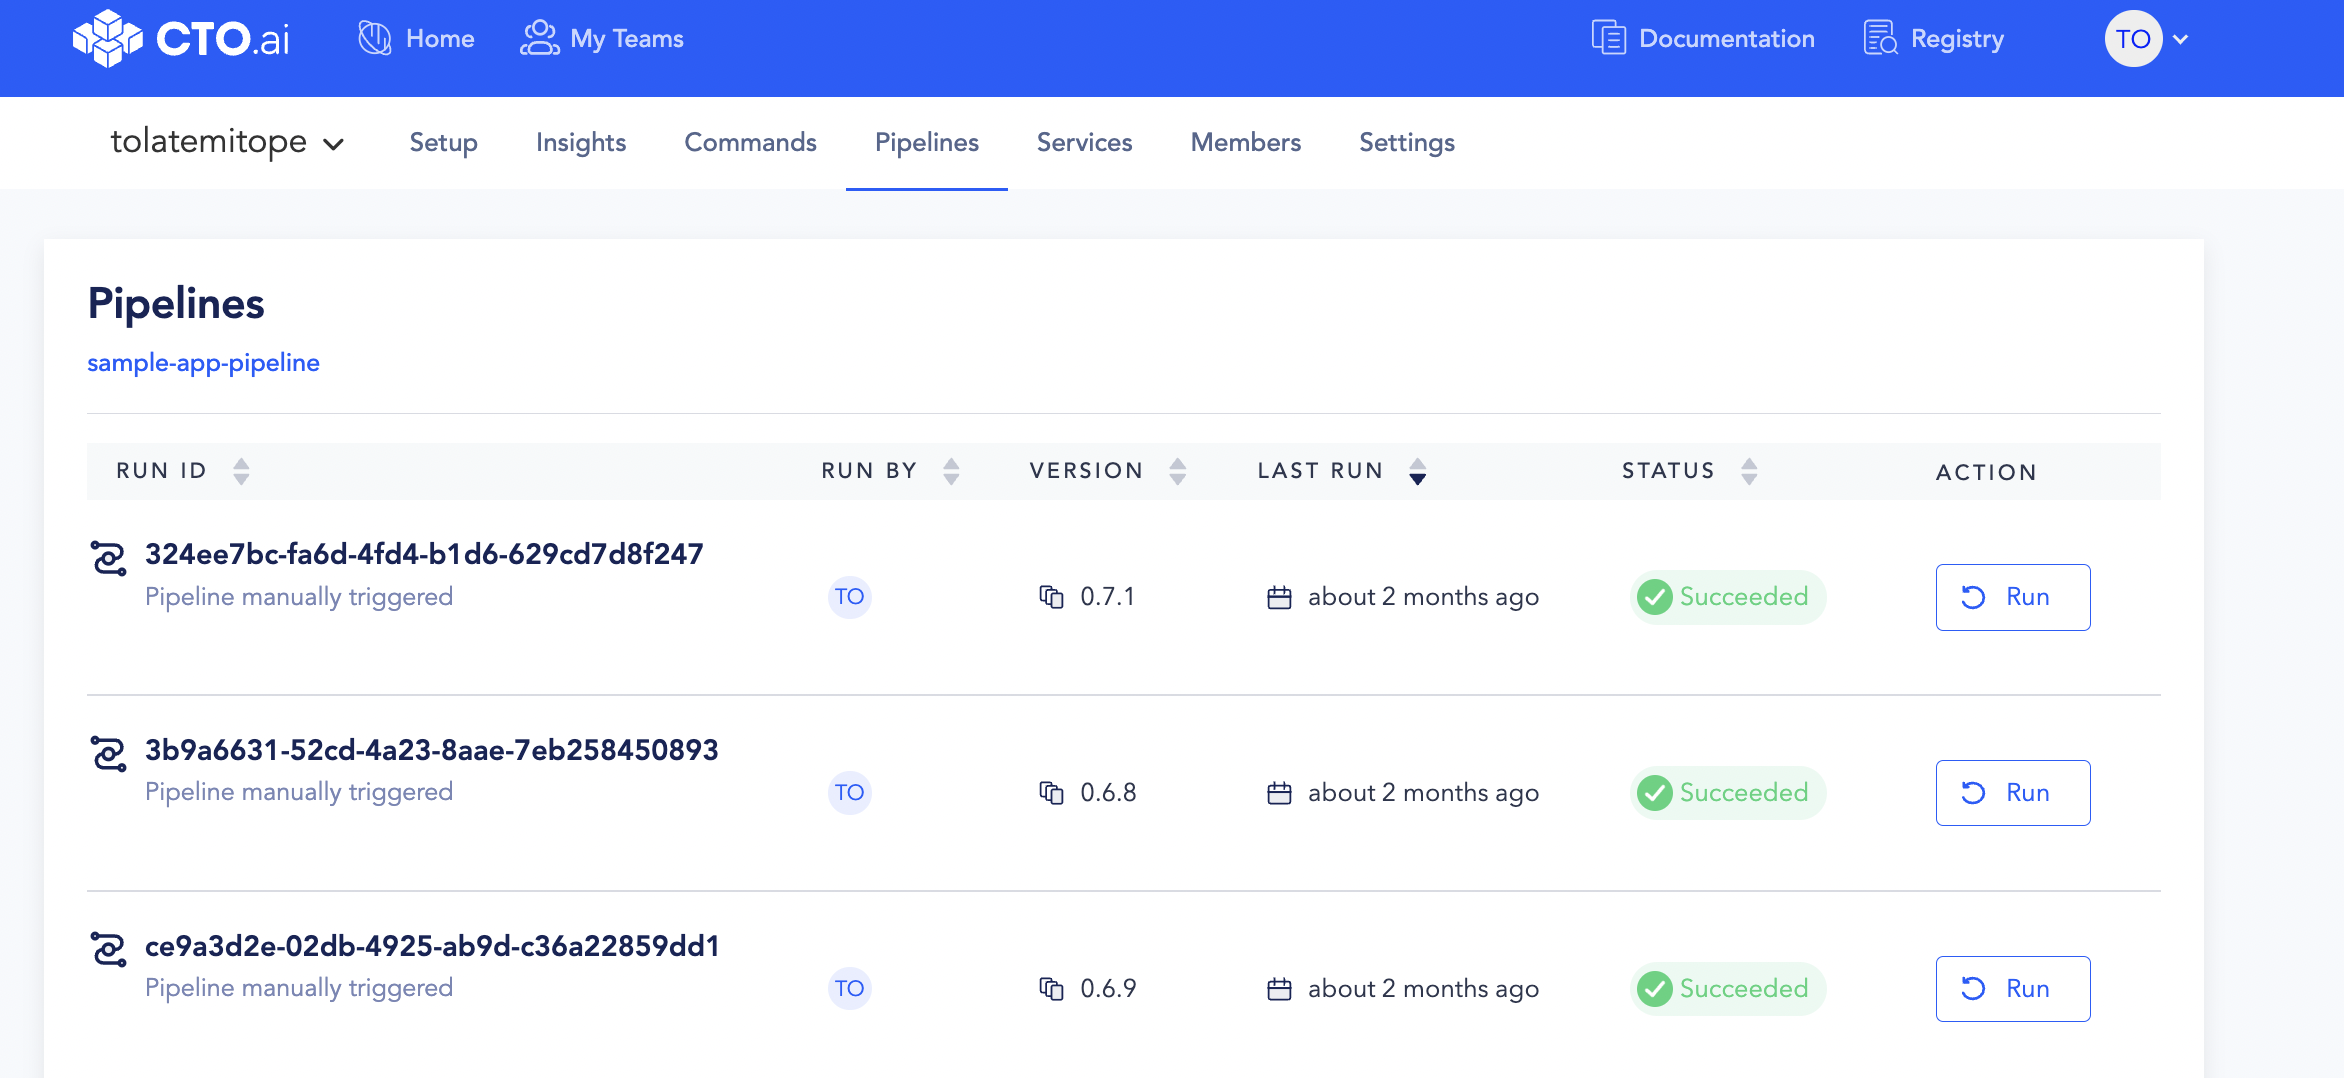
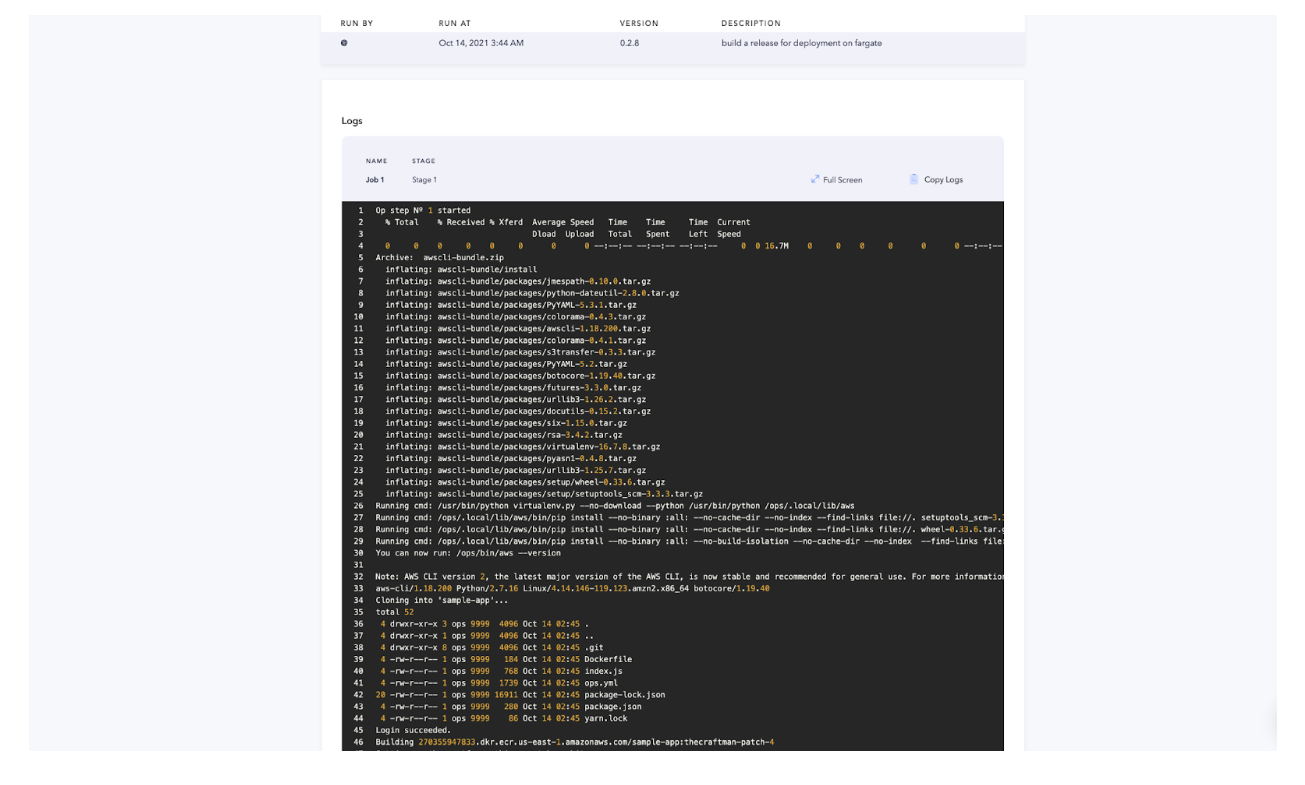
- When you click on any RUN ID, you can see the complete logs of your application from how it started building the image, installing packages, and linking dependencies.
Trigger Services using Events
- Also, back in your dashboard, click on services you will see your services running. Your sample-app service was also triggered when you merged the pull request.

- Click on your sample-app Service. You will see all the services that are running.
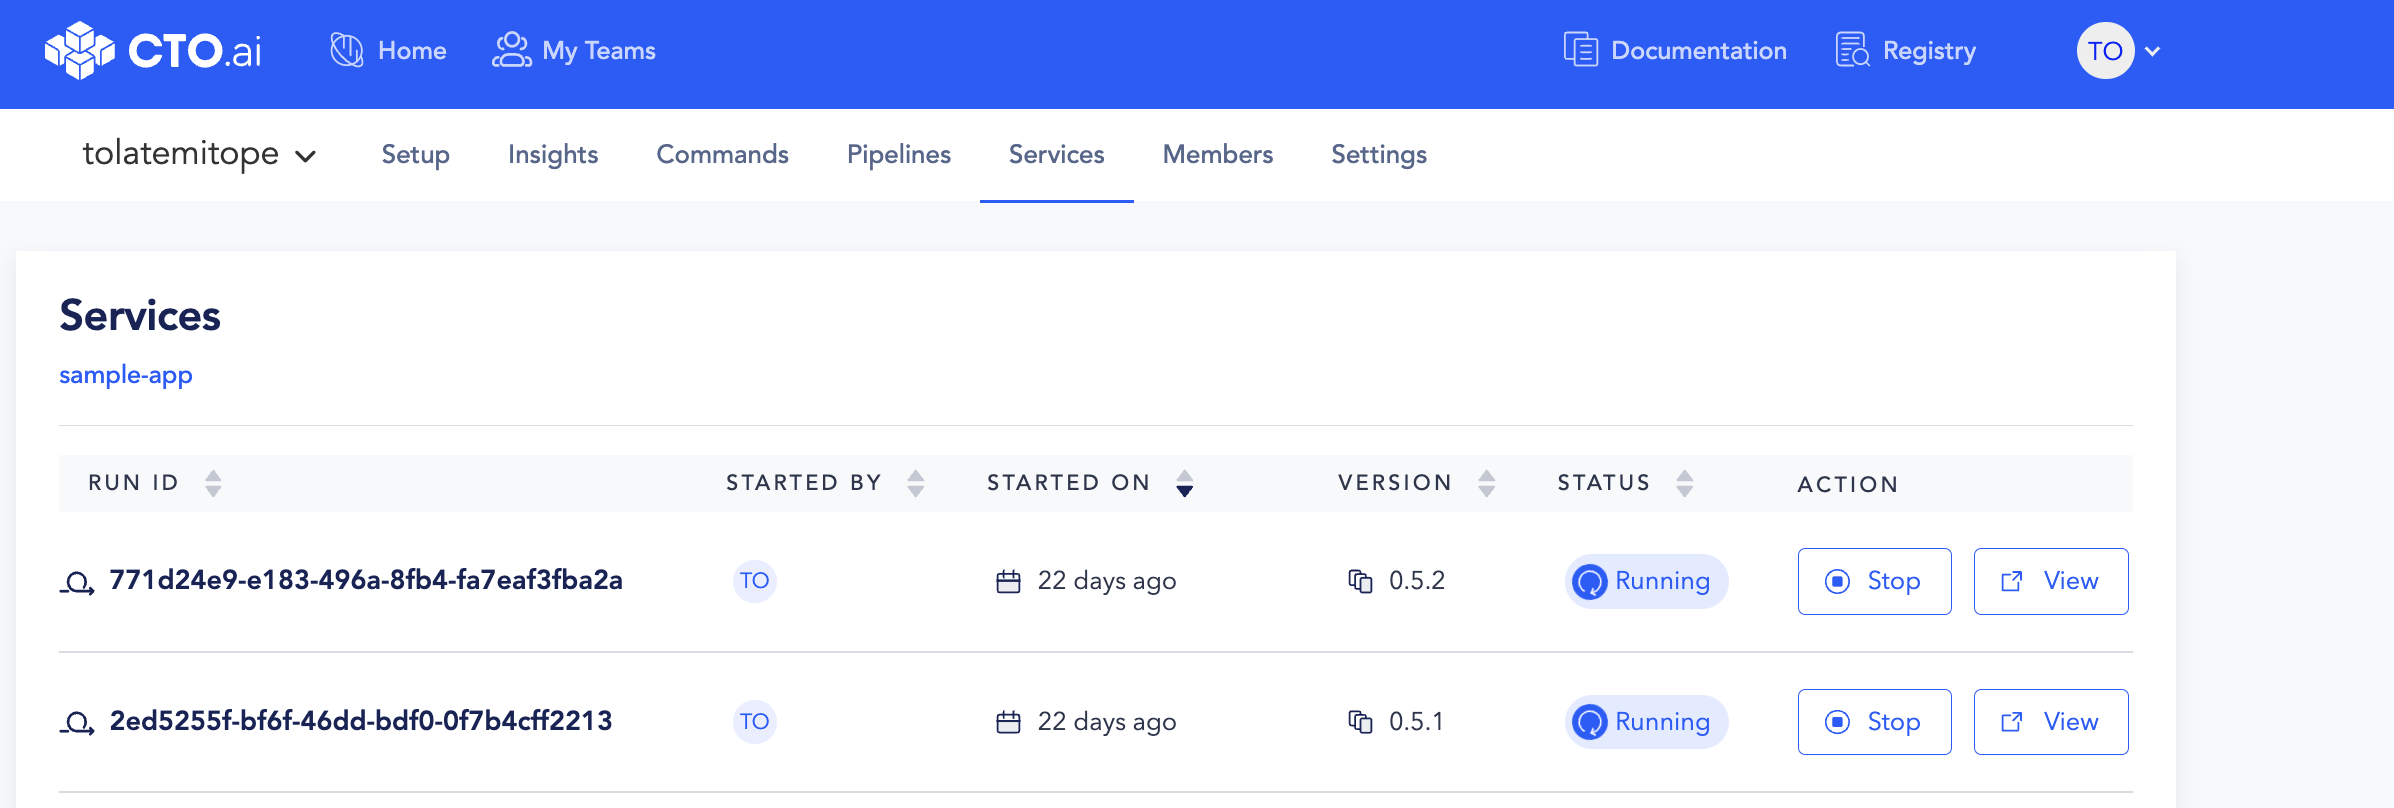
- Click on the first one that got triggered earlier. You will see the logs of the generated workflow.
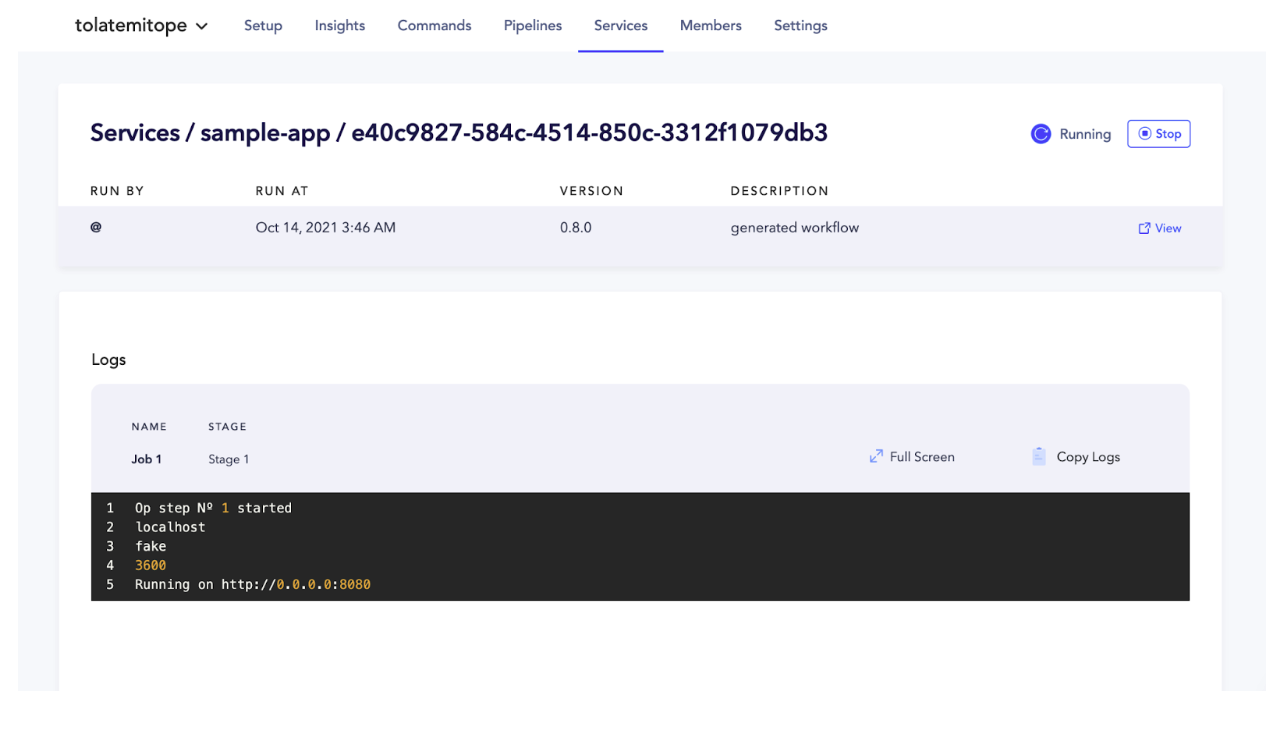
- Click on the view icon to open your service preview in your browser.

- It will generate a unique URL for you that acts as your preview URL. With that URL, you would be able to see the exact changes you made in your repository or source code.
